
Here was the deal. We pay half price for one of Weta's awesome unpainted Rayguns and beef it up. The Raygun in question was The Righteous Bison. This is one of their least expensive Rayguns and I was going to buy it for fifty bucks contest or not.
Before I go on I really have to thank the guys at the RPF and Weta for doing this. Weta is the peak of prop making. The fact that they took the time to make this contest happen through the RPF shows they are are also pretty cool people to boot. If you want to follow the thread with everyone's ideas, concepts, and comments you can check it out right here.
Onward!
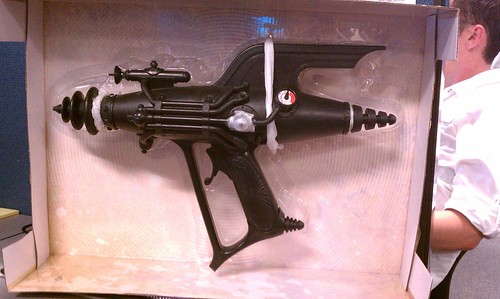
You can only guess how excited I felt when I got this thing in the mail. If you guys haven't ever seen the N64 kid, take a sec to watch this video.
It was EXACTLY like that. I was so anxious to open it that I took it to work with me.
It did take me a little bit to work up the nerve to take this apart. It feels weird paying 50 bucks for something and then taking it home to tear it apart. If I remember correctly, I drank a few beers and decided it was time.
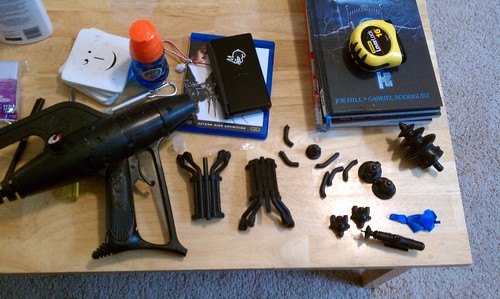
I also have to thank my wife. Thank you for not punching me in the face for having shit strewn all around the house. Here are all of the parts layed out on our coffee table.
I took it apart very slowly with varying sizes of flathead screwdrivers and popsicle sticks. Some people boiled them, used heat guns, or forms of voodoo to remove the glued-in pieces but I just watched some TV and pried at it until it gave up. Took an hour or so to get everything apart.
I decided that I wanted this gun to looks like something that was thrown together really quickly, maybe in the middle of a fight. I really like the look of the Dr. Grordbort's Shock Trooper's gun so I thought it would be neat if they mixed and matched pieces to make a more powerful gun.
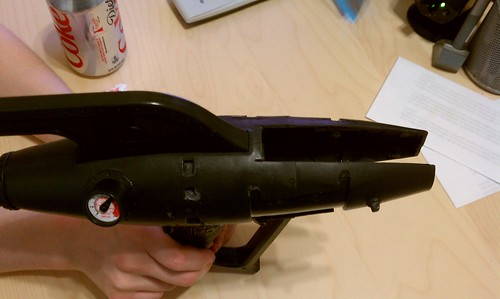
Cutting out the slot for the barrel was another hairy situation that I was nervous about. Im happy with the way it came out. I measured everything out and placed painters tape for my lines since the thing was black and I didn't have anything that would write on it and still be visible lol.
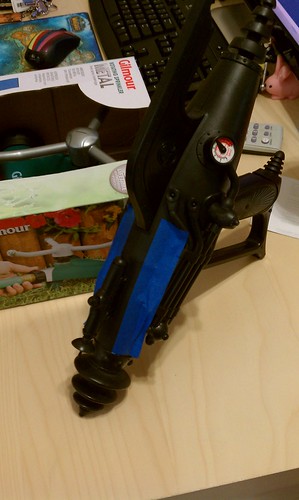
I then used my Dremel with a cutting wheel to get it cut out.
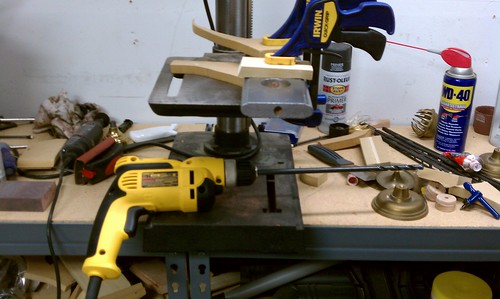
I used a piece of Red Oak that I picked up from Lowes for the barrel. I then used a router on the sides to get a nice look and cut out some big ole holes in the middle. After that I drilled another hole right down the center for a threaded rod. I didn't have a drill bit long enough to get through the whole thing so I picked one up, and after I almost started a friction fire (something I was never able to do in cub scouts) it was ready for paint.
After a lot of primer and spot putty and primer and paint and spot putty and sanding and whatever else, I worked the wood grain out. I didn't take pictures of that process because it's boring. But here is the final product with some paint.
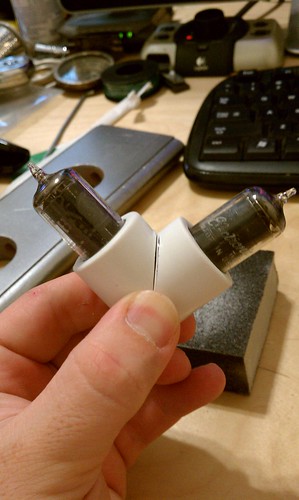
Time for the emitter, otherwise known as that thing at the end of a Raygun that the death comes out of. Here I used 2 PVC elbows. I cut them so their angles would be a little sharper and glued them back together with hot glue just to keep them in place.
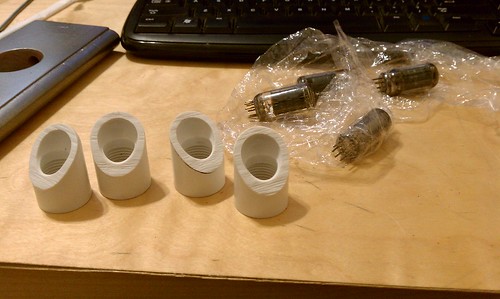
I got some old Vacuum Tubes off of EBay to stick in these when they are done. :D
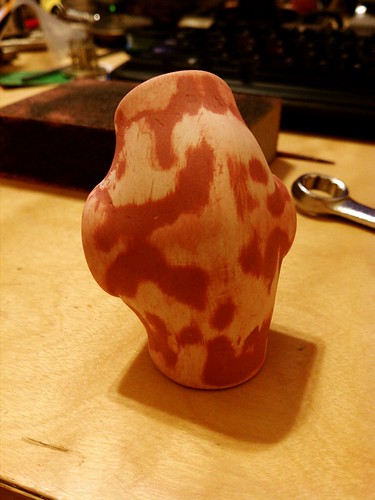
After that came the Apoxie Sculpt. That stuff is awesome. After it dried I was left with this.
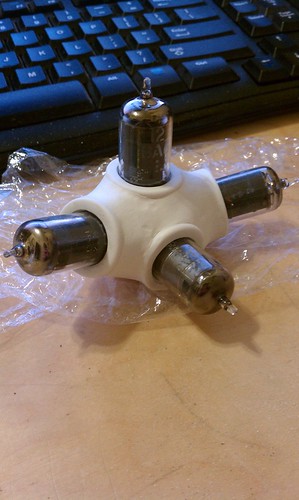
Sortof looks like Sputnik right? Not really? Whatever! I used some spot putty to smooth things out and got a little piece of modern art.
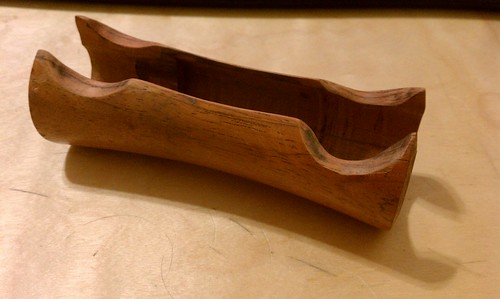
I made the wood handle out of a pepper mill that I found at good will. It smells great!
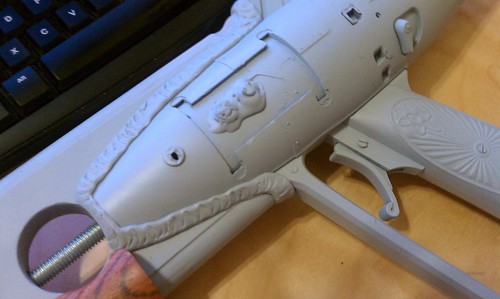
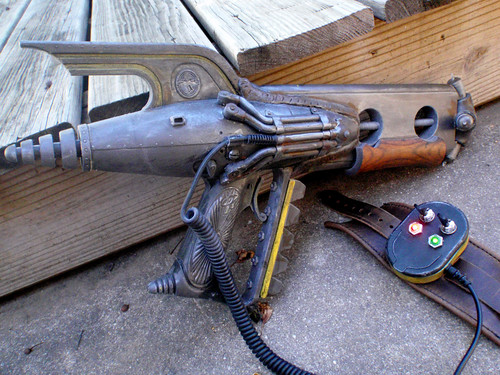
More Apoxie Sculpt was used here once I joined the barrel and the body of the gun. I used my finger nail to squish it around once it was in place to simulate a big fat weld. I mean if you were in a hurry and had to weld some crap together to save your life it wouldn't look pretty.
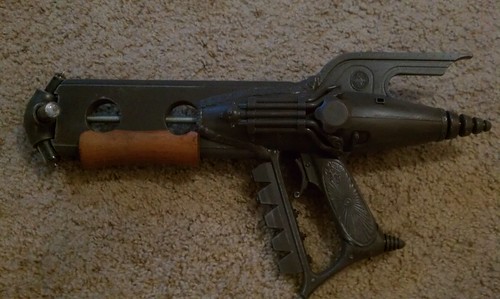
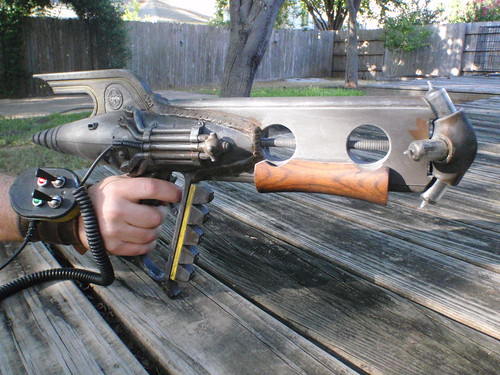
Now that everything was together I took a step back and decided it was missing a few things. It did indeed look like someone slapped together stuff from other guns but it didn't really have any oomph! How does adding a barrel from another gun make the gun more powerful? It doesn't really. I needed an outside power source and some damn brass knuckles for some man (or alien) handling power.
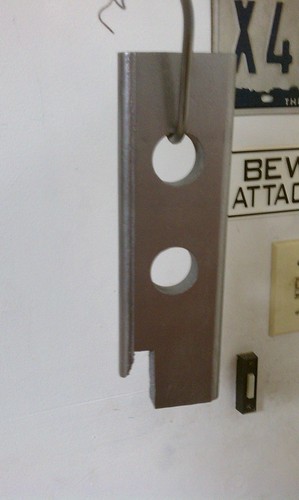
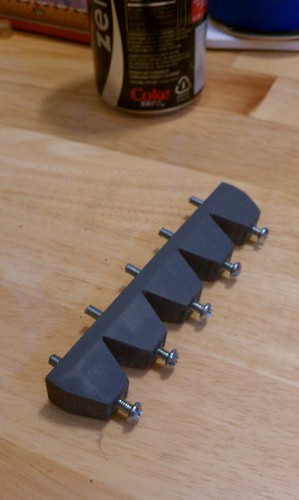
Using some MDF, I cut out what I thought was a neat and mean looking set of knuckles to bolt to the front of the hand guard. After some primer and sanding it started to look like it wasn't made out of MDF anymore. I drilled holes through each knuckle and put cut down bolts through. This made it sturdy and awesome looking.
Now we're cookin' with accelerated particles!!! Strange fact: I have a drawer full of Nos energy drink caps because I think they look cool but I've never used one in a project. This is no longer the case! I put one of them on this side to cover up a hole and to make it look a little more interesting.
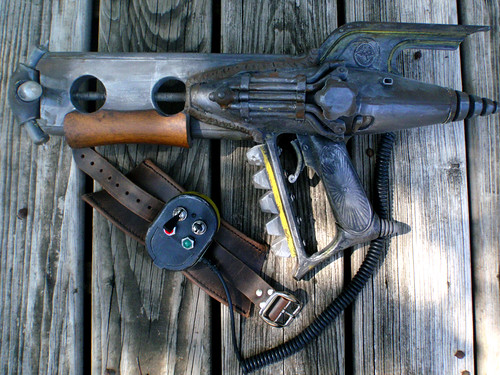
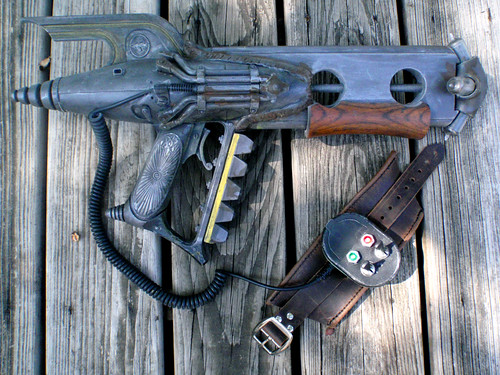
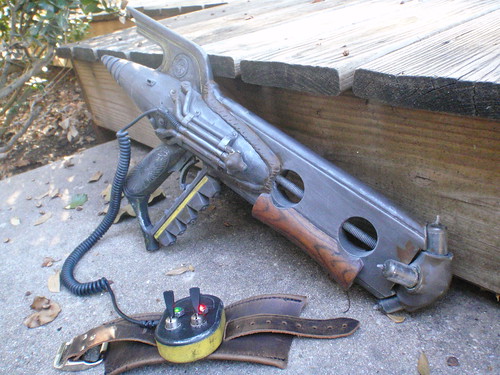
Now to my favorite part, the wrist mounted battery pack. I have a friend that is a genuine leather worker. So I go up to Blue (my friend) and I says, "Hey blue can you make me something awesome for really cheap?!". Blue being a great guy and all says he'll do it for free. Since he's such a nice guy I think you should check out his website http://bluemoon-leather.com.
Anyways, here we go. Blue made the wrist strap to which I mounted the external battery pack.
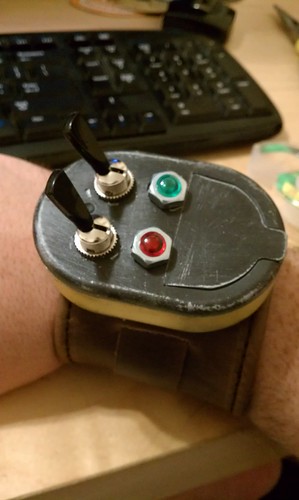
It started it's life out as a mints container. I applied 2 coats of primer and then 2 coats of silver paint to the whole thing. I then painted the top black and the main body yellow. Once dry I used a sanding sponge to take off some paint around the corners and such to show the silver underneath. That's a really cheap and easy way to make something look like it was painted metal that has been in some scrapes. Also it lights up!
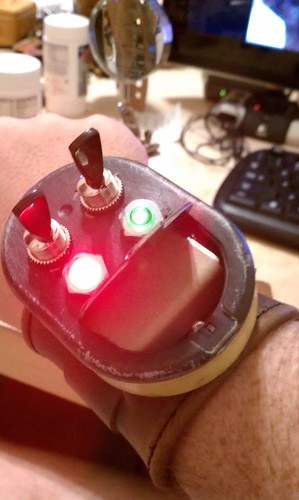
The flap can be opened too. I rigged it up with red and green lights on separate switches that are super fun to flip. I also wrapped the battery with some plain brown paper so when you open it up it doesn't say ENERGIZER on your seemingly very used, period prop. It looks so happy don't you think?
Moving on to paint. Like any of my other guns, I used the dry brushing/dirty wash techniques from before. Oh! I almost forgot one of the coolest parts! I used some of this paint that has tiny metal particles in it so it can actually rust. Anything on the gun that looks rusty is the real deal.
The gun was still missing something so I added some yellow to kindof bring it and the battery pack together. Erin suggested it. She's the best. The yellow on the fin got a little washed out with further painting but I just chalked it up to it looking used and left it that way.
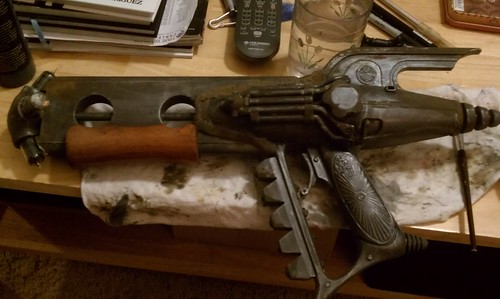
There you have it! I sent in my submission last week so wish me luck. :D Here are some glamor shots to brighten your day.
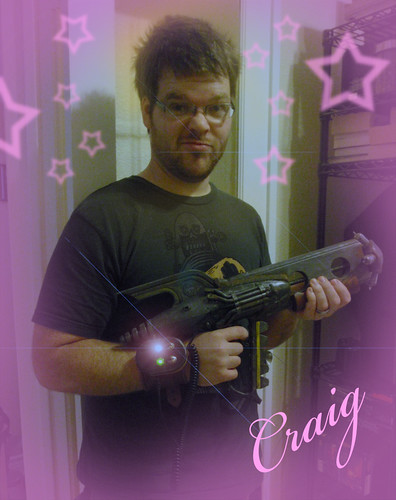
How the hell did that get in there?! Carry on people. >.>
Until next time...