
What uuuuuuup?! I got me here this new gun and I'm gonna show it off. I wanted to call it The Blue Coyote but it's pretty obvious the damn thing is blue. So in the interest of being subtle I'm going with just plain old "The Coyote".
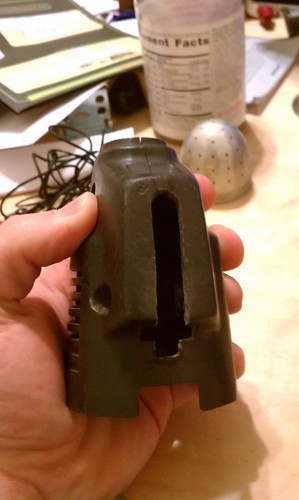
I got these parts from all sorts of places. The main body that holds all of the guts is from a broken grinder my dad gave me. The handle was molded from the metal one I used on The Haint. The front parts are a candle holder and cheese grater insert for a salad shooter I found at Good Will. I got the orange glass light cover at a city wide garage sale thingy in Austin.
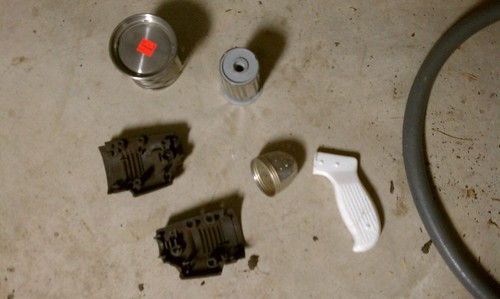
So as you can see here I had some different ideas on how to start this initially. I was going to use this tea strainer thing I found at a resale shop but decided that the orange light cover would look wayyyy better if I painted the gun blue.
I started out by making sure the handle would fit in the grinder casing. I did this by holding the handle up to the casing and then drew a line around it(super technical). Then I just cut out where I marked and cut the handle itself to fit the casing.
I also drilled a hole for the screw to go through when I closed the thing up.

After that I says to myslef how am I going to put a switch in this thingy here? Here's how!(I says). I drilled a hole in which to put a push button...button.
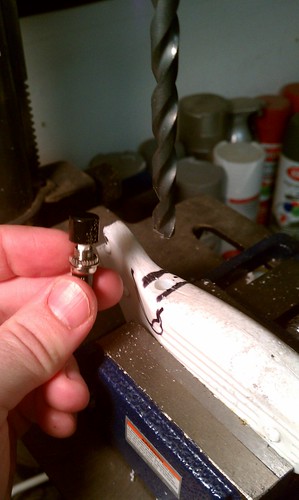
I made a smaller hole at first for the wires and then a larger one for the button to sit in.

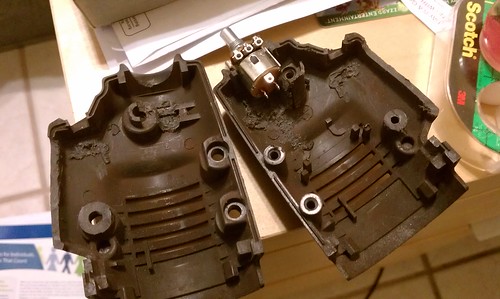
Then I drilled a hole in the top of the handle for the wire to go through to the body of the gun. I had to cut that notch out of the back of the handle so it would fit next to the battery. Space was super tight in there, but I'll show you that later.

I wanted there to be something neat that you can see through the slits in the body of the Raygun so I added this little coil. In reality after I went through the trouble of adding it you can't see it really well. Oh well. I feel better knowing it's there. I cut the base off of a candle holder I got from Good Will for the coil.

I used a threaded rod and some nuts to hold the front end of the gun together and help space out the parts. I attached the coil to the rod with the nuts and put an orange LED in a spot you could see it through the cheese grater. HOT GLUE!!!

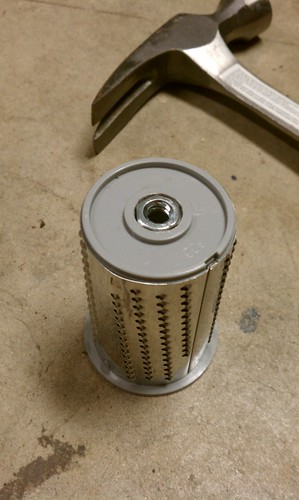
I hammered a nut into the end of the cheese grater so I could screw it onto the threaded rod. This way I could remove it easily if I needed to.
So at this point I decided that I wanted to do something extra cool. I added a dimmer switch so I can turn up the Raygun "power" on the back of the gun itself.
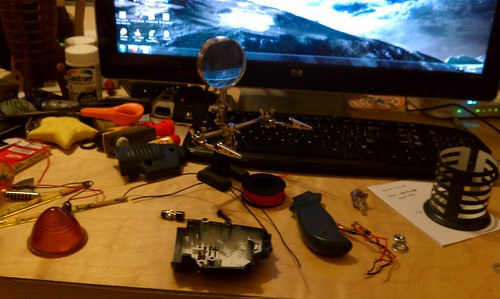
Remember earlier when I was talking about space being tight? Check this out. I was barely able to fit the coil, back end of the grater, dimmer switch, battery, and all the wiring. Getting all of this stuff in this tiny space was a challenge, but it was a lot of fun.

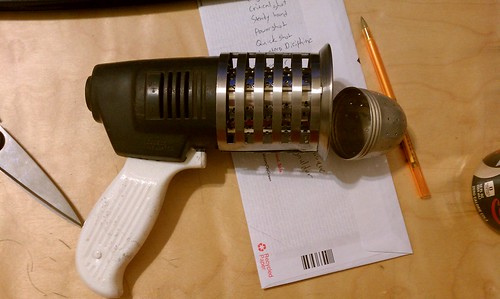
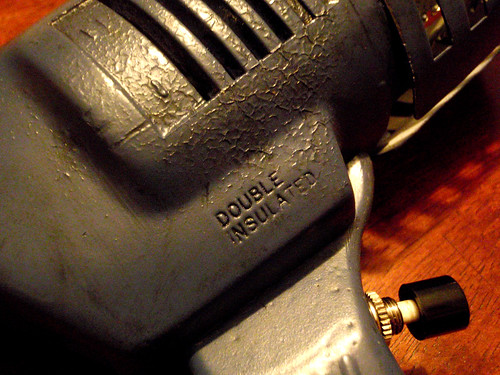
Now I'd like to say that I did this on purpose but I'd be a filthy liar. Through a combination of bad painting conditions and a heavy hand I got some gross looking lines in the paint by the vent holes. Instead of sanding everything down and repainting I felt it looked sortof cool being only by the vents. Almost like this thing was used a lot and the heat made the paint do funny things. I do like the idea of this Raygun being a general issue weapon at a moon base or the standard sidearm for some space-going group.
"You get one set of clothes, one pair of boots, one toothbrush, and one Coyote for protection against the angry native Rock Eaters of the lunar surface."
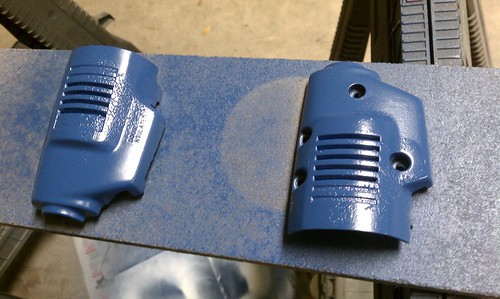
If you can see it, I painted the insides of the grinder casing and the candle holder that's acting as the barrel white. I did this for two reasons. One is that orange, blue, and white look awesome together. Two is that I was hoping the white would reflect the light a little more for a better effect. Also my desk is messy.
The handle is wiiiiiirrrrreeedddddddd.

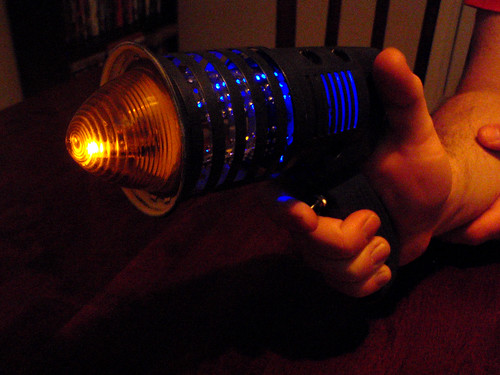
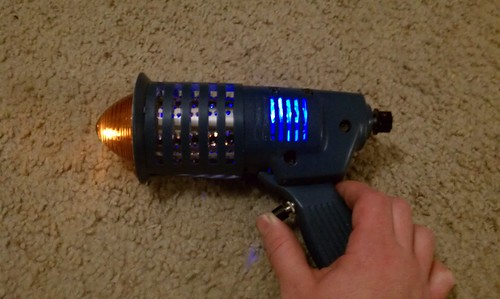
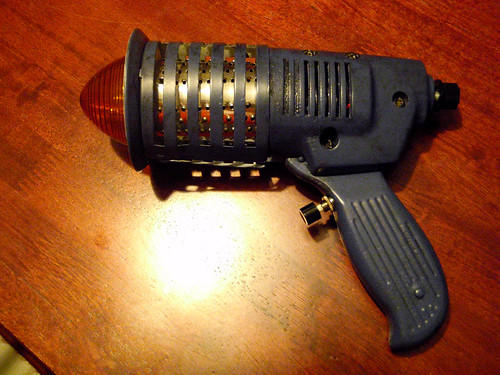
Time for a test fit and light!
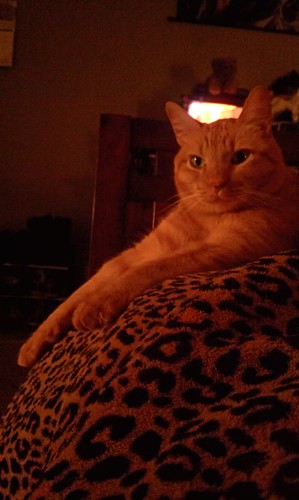
I uploaded a picture to Flickr by accident with this batch so it must have been destined to be in this post. Here's Ojay!
I didn't want this one to looks super filthy like all of my other ones, so I just added a thin layer of grime to make it look used but well taken care of.
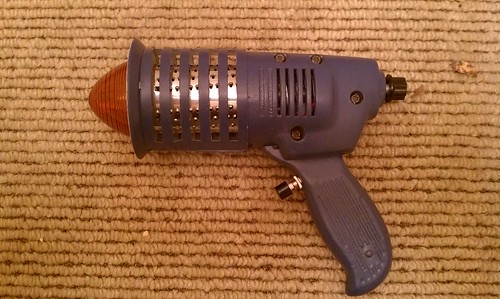
The Coyote lives!!! Here are some shots of the finished gun. I particularly like that if the dimmer switch is turned all the way up and you fire the gun, the orange from the trigger and the blue from the dimmer make a nice purple in the barrel.


I hope you guys like it! As an extra bonus I made a video demonstrating the lights. Complete with sound effects!!!
Until next time folks. Shoot em' if you have em'.