

Heeeeere we arrrrre, Borrrrn to be...Raygun maker duuuuudes. I'm back and I have a new Raygun to show off! This one is called the Lightning Rod. Here's how I made it.
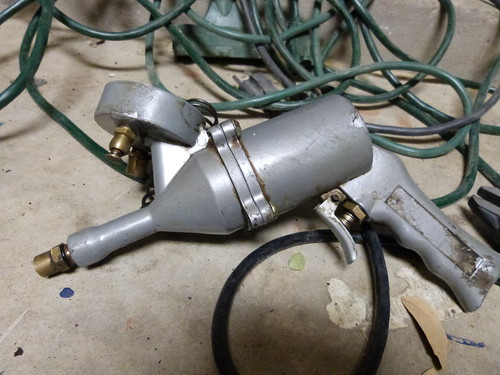
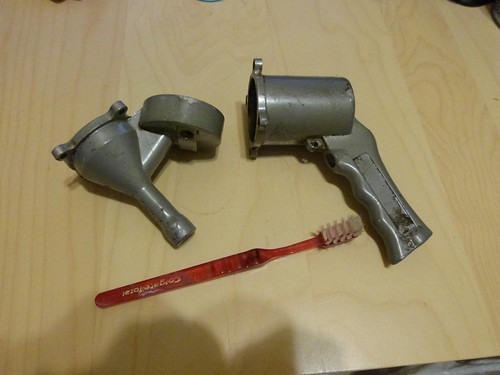
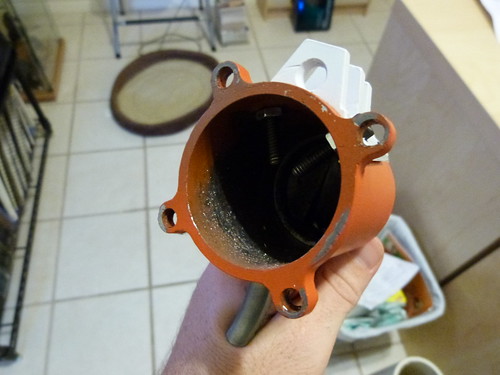
I visited my parents for fathers day and took a look through a friend's scrap pile and found this grease gun. I liked it a lot and decided to use it as the center piece for a new Raygun. The part the grease gun screws into was originally on the bottom but I thought it looked cooler on the top.
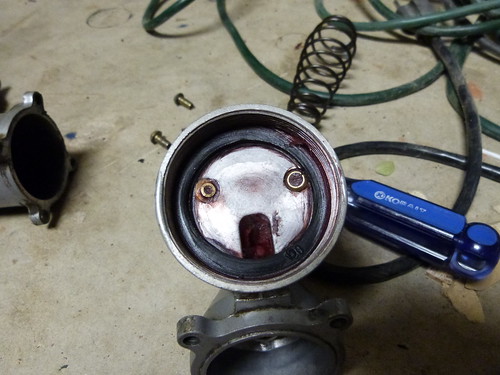
It was very surprised to be taken apart!
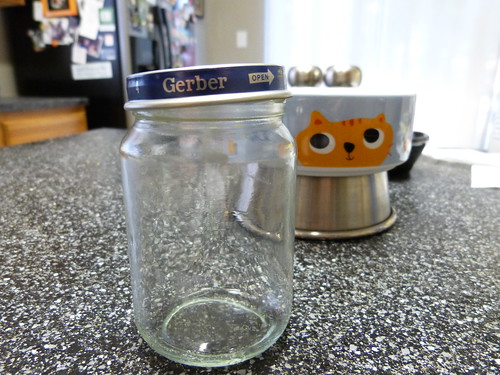
I'd been wanting to make a Raygun with some sort of liquid in it (Dr. Grodbort style) for a long time now so I thought this would be a perfect time to try since the part where the grease tube screws in is about the right size for a bottle to be inserted. We had a baby food bottle from a time we had to feed some to our cat after a vet visit so I used that. According to this picture even painted on cats think it's great.
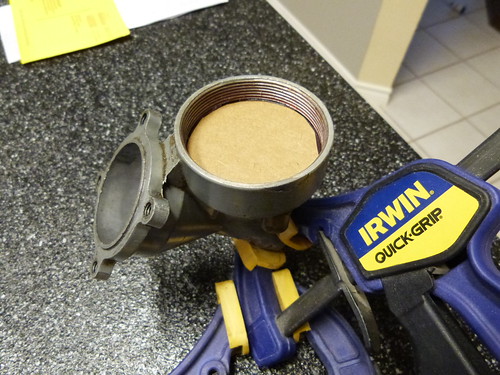
I ran into a small problem here. The bottle and cap were just a little too small to fit in the grease tube area. After kicking around a few ideas in the ole brainbox I decided to pour some two part resin/plastic into the area to make a threaded cap for the baby food jar. It'll make sense in a minute. Here you can see a piece of cardboard that I cut out so the liquid wouldn't just run out through the gun and onto the counter tops. The trick here was to wait until the resin had cured a little bit before pouring it. That way it was liquid enough to pour and fit into the threads but thick enough to not seep through the cardboard.
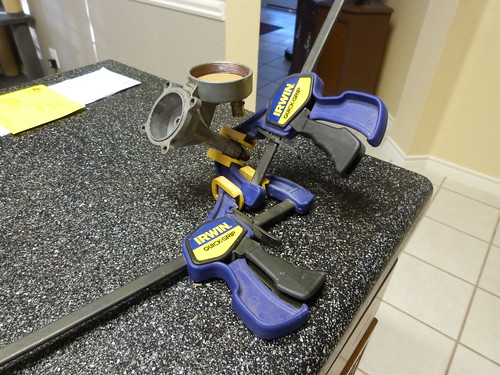
Here's my super fancy clamp action setup that gave me an even surface to pour the resin into.
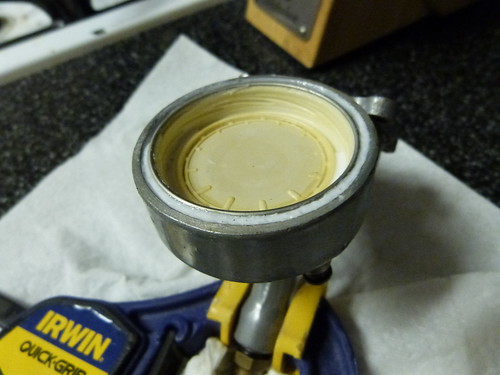
I waited for the resin to cure a little bit and then inserted the baby food jar lid so they would harden together. The white stuff around the edge is the curing plastic. Pretty rad!
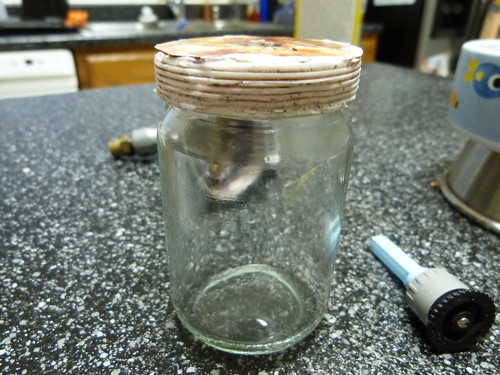
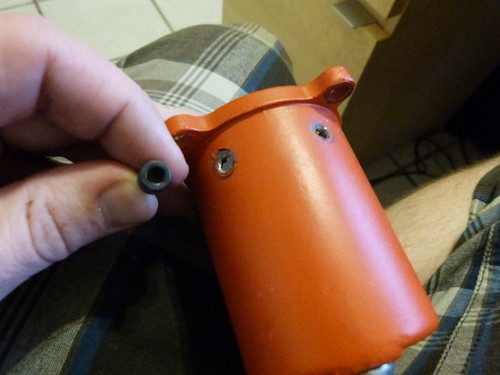
It's not very pretty but here is the threaded "adapter" on the baby food jar after I removed it from the grease gun.
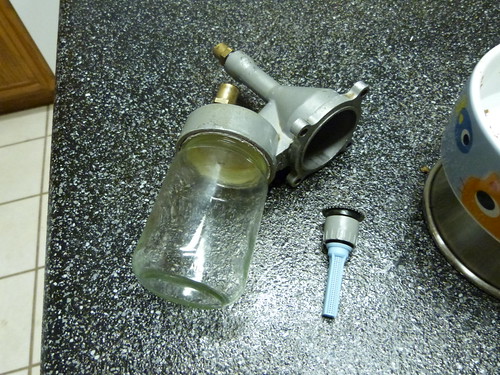
Here it all is screwed in for a test fit. Looks pretty good. To the right is a doodad I'll be using later. It's part of a sprinkler head and will serve as part of the lighting.
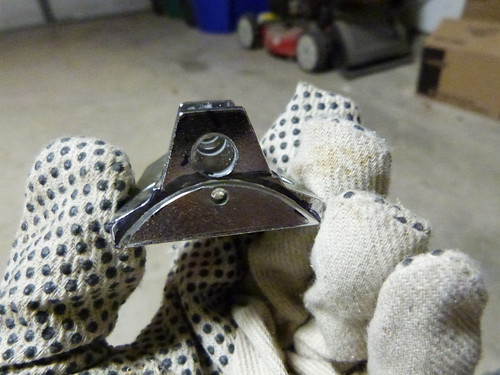
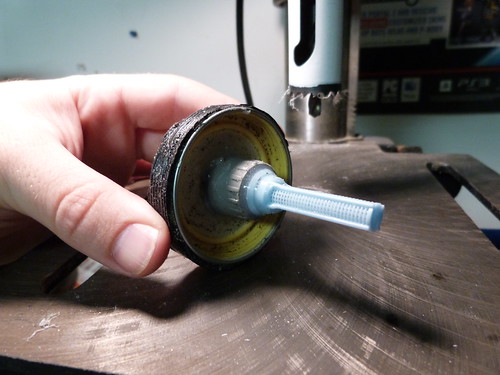
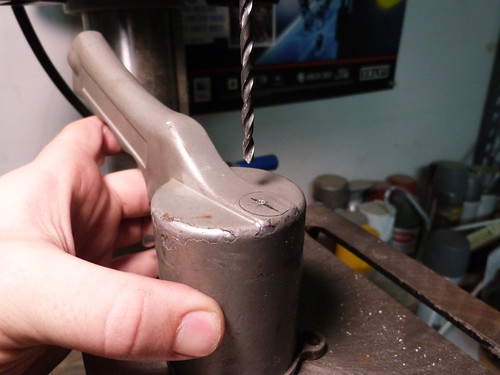
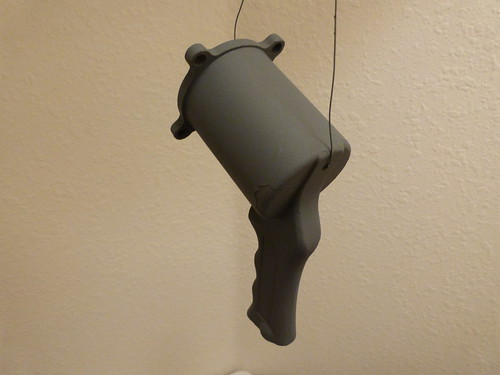
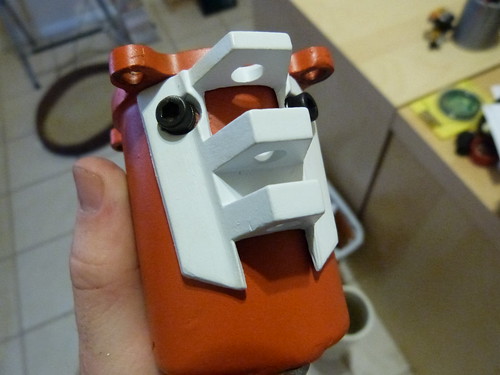
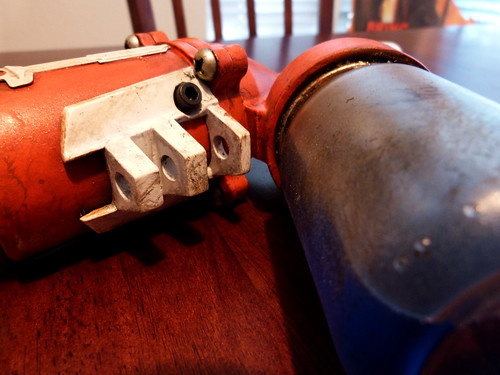
The piece I hold in my hand here is something that I wanted to put on the top of this gun pretty badly. So badly in fact that I decided that it was a good idea to remove all of this material in order for it to fit. I am not a smart man. In the process of doing this I cut my fingers a few times and even got a piece of metal stuck in my eye that had to be removed by a doctor (I was wearing safety glasses but they weren't big enough apparently.) The moral of this story is to just be careful when cutting metal of any kind with anything. I removed all the material from the curved black line down.
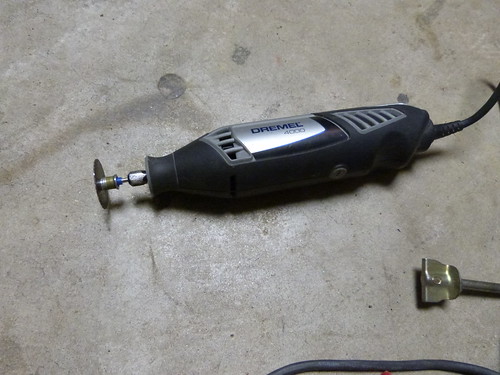
This is the tool I have to do this with, my good ole Dremel 4000. It gets so hot sometimes that you have to wear gloves and even then you lose the feeling in your hand for a little bit after using it. After about 4 hours of cutting I had what you see below.
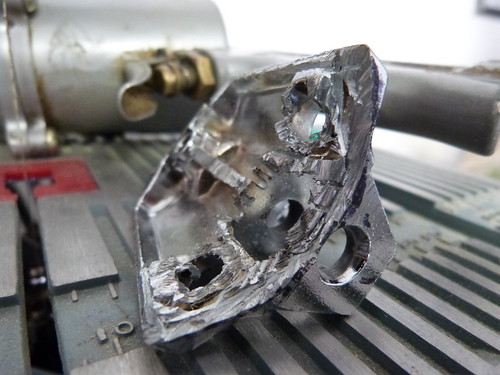
I hate you.
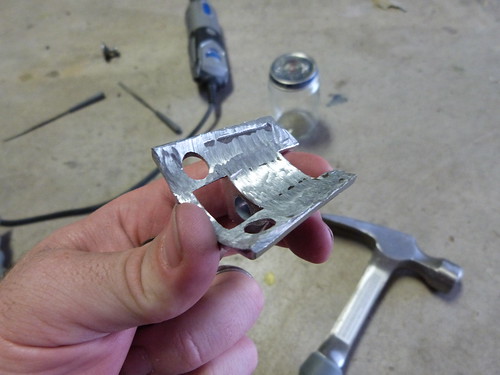
After a lot more cutting and about 3 cutting wheels I had this. A nice smooth piece that I felt pretty good about. You'll see him a little bit later.
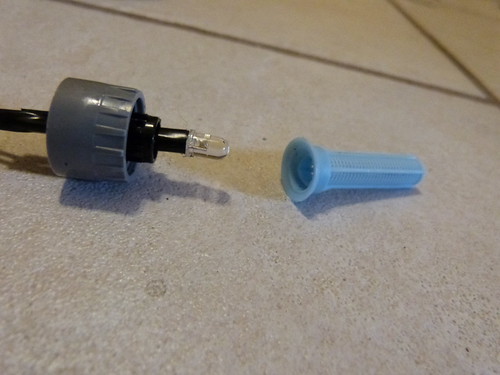
Here you can see that I already got an LED and resistor soldered together and taped up. I fed that getup through the sprinkler head thingy. Very technical.
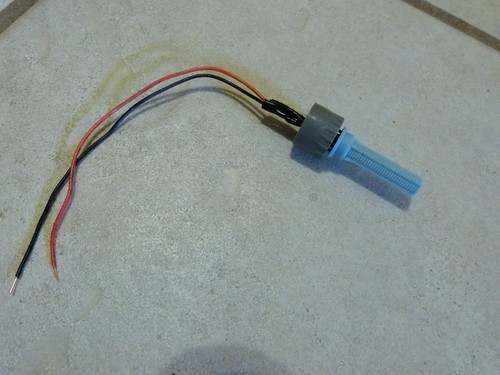
I stuck the blue cap on and sealed it with silicone that you can get at Home Depot. It's going to be submersed in liquid so I didn't want any leaks.

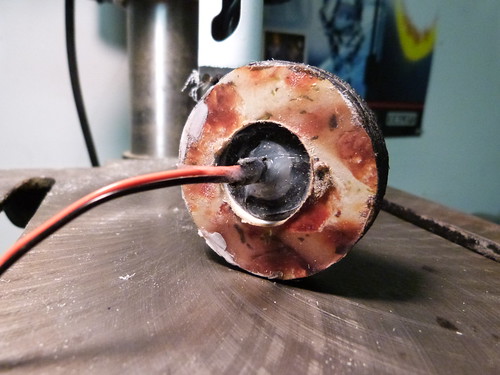
The threaded adapter that was previously white was painted black so it wouldn't stand out as much. I cut a hole through the middle with the hole saw you see in the background so the lid/lighting assembly would fit through. If you look close to the baby food lid you can see the silicone that's sealing everything from the liquid that will be in the jar.
Yes the cardboard came from a pizza box.
I took a lot of pictures of this for some reason so I might as well use them. Here's another angle of everything assembled and sealed up with silicone.
I scrubbed this thing like it was an oil covered baby bird, but it still just looks dirty from years of sitting in a scrap pile. Adds character!
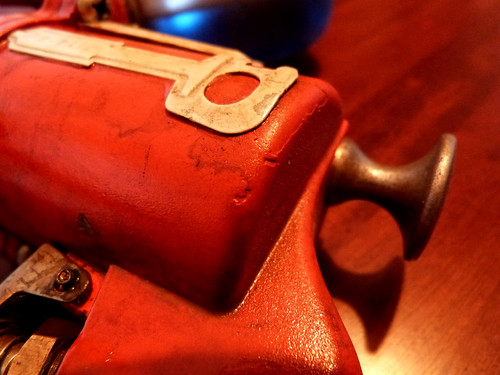
I knew before even mocking up how the gun was going to look that I wanted to use a drawer knob on the back. So I just went ahead and got it installed. As you can see I was right on the mark I set for the hole. >.> I guess "close enough" counts for something.
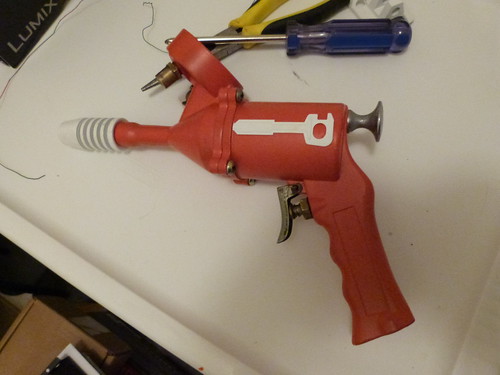
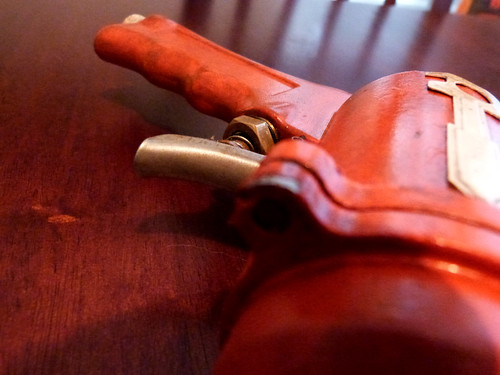
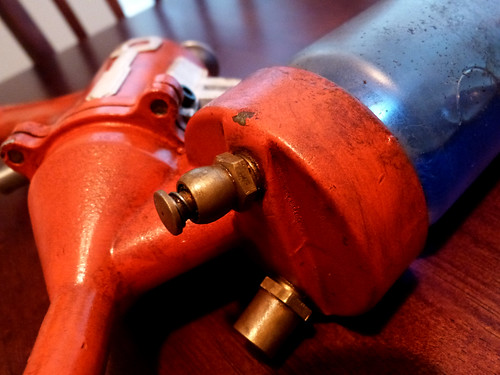
After some deliberation I finally decided that this was how I wanted everything to be laid out. The part on front acting as the "emitter" was found at a good will and I have no idea what it is. Looks cool though. The parts on the side actually came with a car stereo I got a few years back and are used to pull the old stereo out. Save your little parts and greeblies kids, you never know when you'll use them!
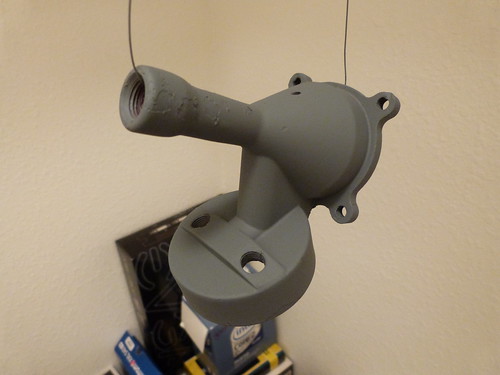
Primerrrrrrrrrr.
More primerrrrrrrrrrrrrrrr.
I decided to go with an orange, blue, and white color theme here. Even though I live in Austin, I am not a football fan. This is not a Longhorns gun. I just chose these because orange is my favorite color.
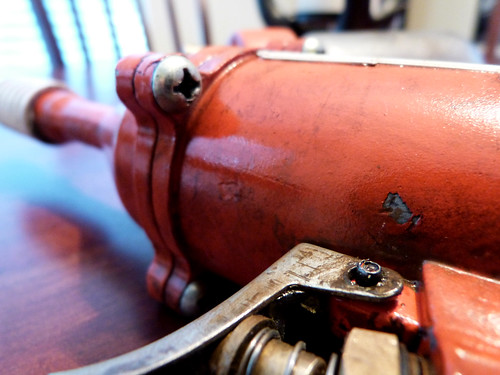
It took some looking but I found some little black bolts to hold the piece on top that I worked so hard to hollow out. Here you can see the holes I drilled for them.
Here's everything bolted on and lookin' good.
Daaaaang guuuuuuurl.
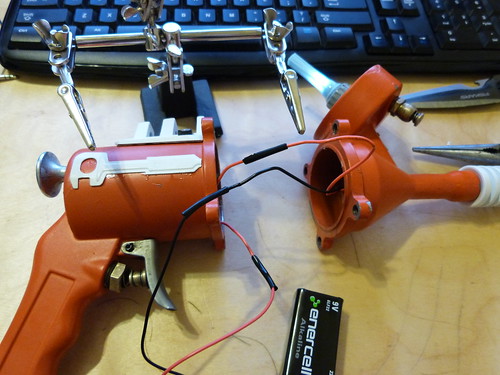
Here I am wiring up the ole guts and goodies. I forgot to mention that I JB Welded a threaded rod into a hole in the "emitter" part of the gun and then bolted it through the front of the gun. I then had to unbolt it, cut down the threaded rod, and just glue it into the front because I couldn't run the rod and wires through the same space.
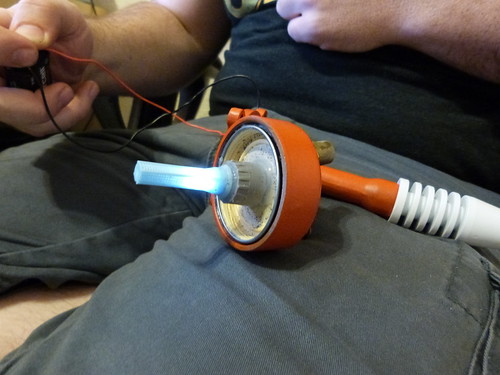
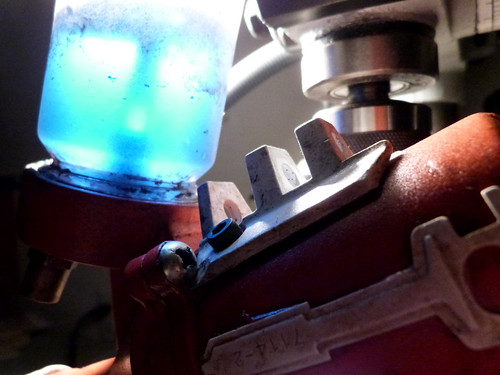
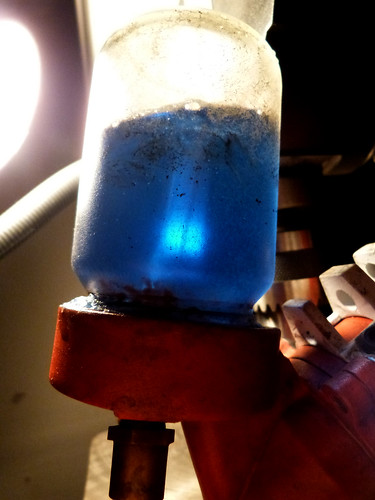
Light test. You have no idea how long it took to snake those wires through here. After some cussing and bribing a wizard I got everything set up and working.
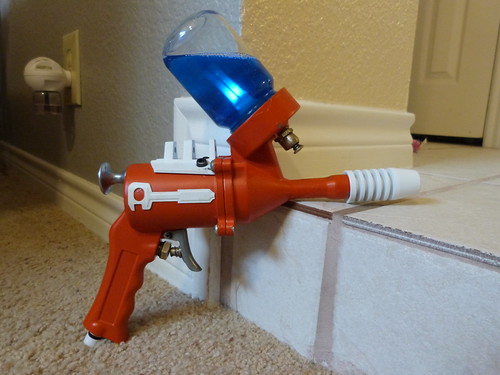
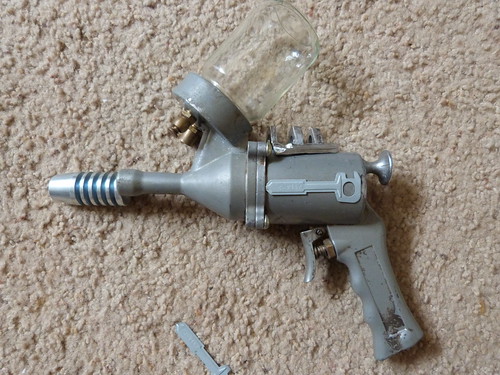
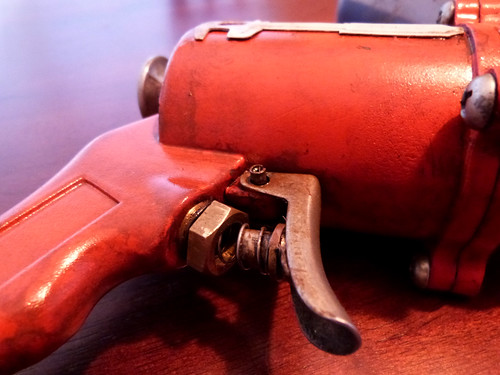
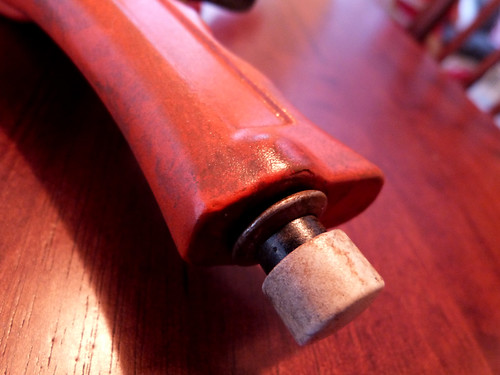
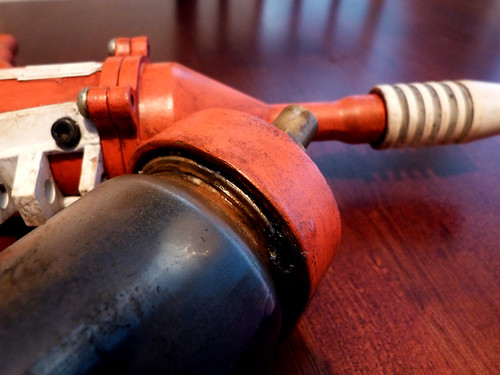
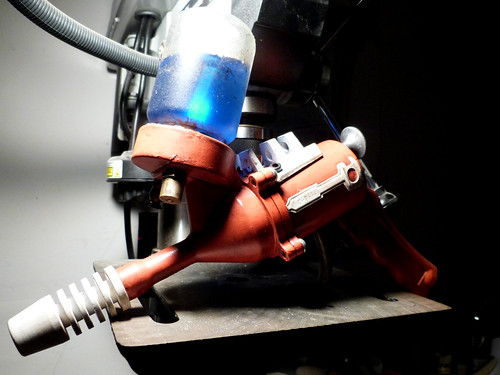
Here is the final fitting clean gun. I installed a button in the bottom of the handle to turn the light on and off and actually filled the bottle with laundry soap. I figured hey it's blue, it won't spoil, and if I ever shit my pants I can just break this open and wash then in a river or something.
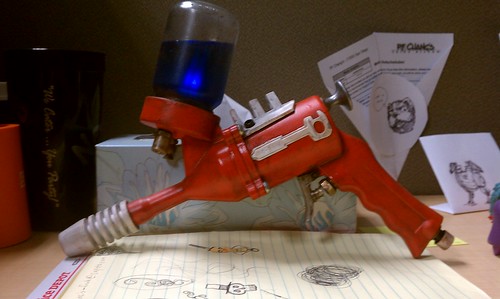
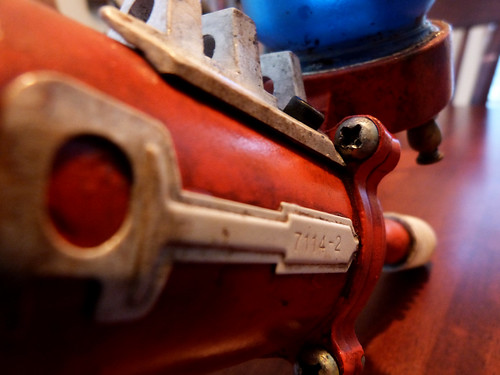
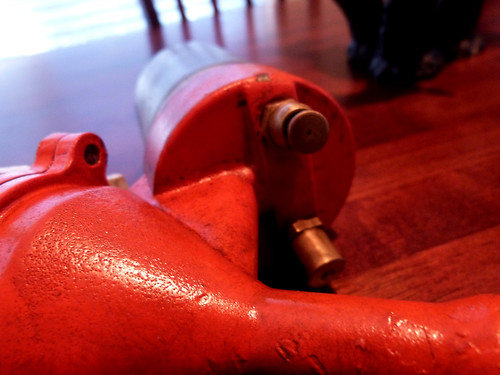
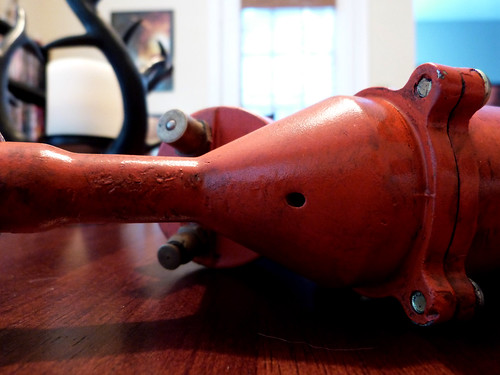
Here is a little picture of the gun after it was weathered. I used my usual technique and sealed it with a few coats of clear coat. You can see the handle button a little better in this shot. Check out the beauty shots below! I got a new camera so I had some fun playing around.
 v
v
I'm going to keep making these original Rayguns as well as more props from stuff I enjoy so please keep coming by from time to time to check them out. Leave a comment if you have any questions or suggestions. :] Until next time!