Monday, May 23, 2011

Paint Tutorial!

Hey cats and kittens. I ran across this tutorial for making a really good and cheap simulated metal paint job.

I can't even stress how easy this is.

FIRST!

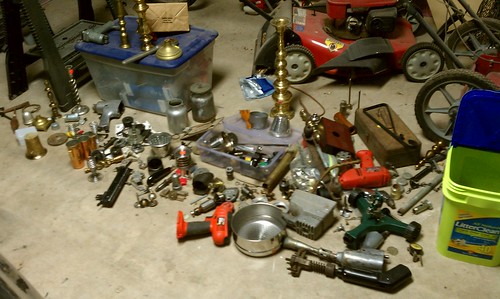
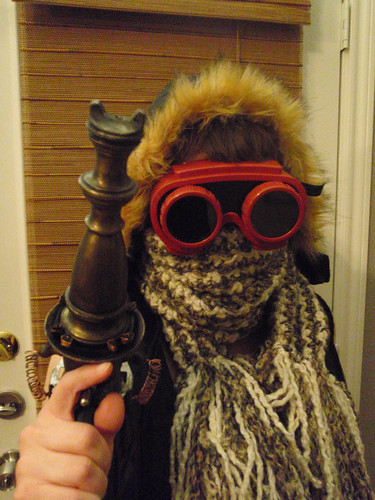
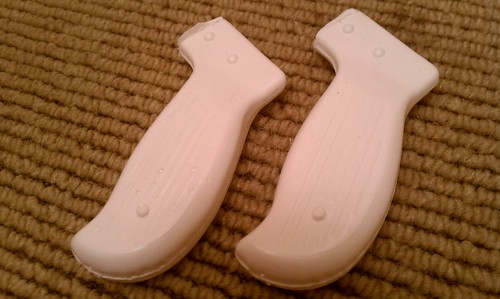
You get yourself a watergun or some sort of plastic business that you want to metalify. I chose the red one in this lineup below.


NEXT!

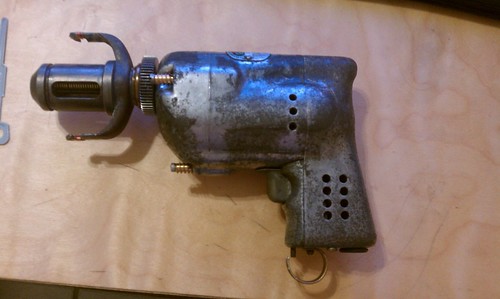
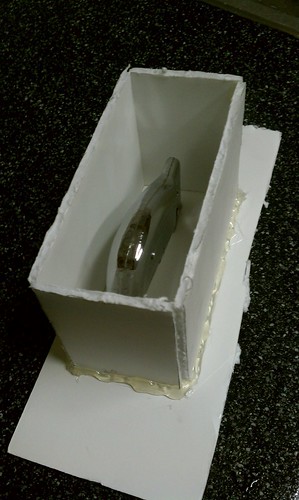
Just get some normal flat black spray paint and give it a good coat. Unfortunately I didn't take a picture of this step. So through the magic of Photoshop I have provided you with something very similar to the real thing.


ALSO NEXT!

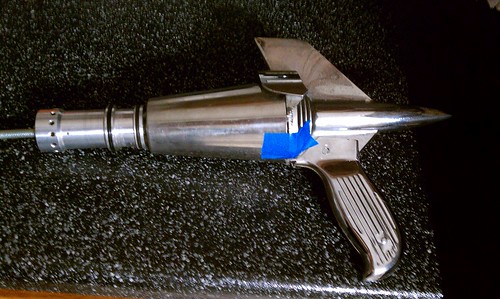
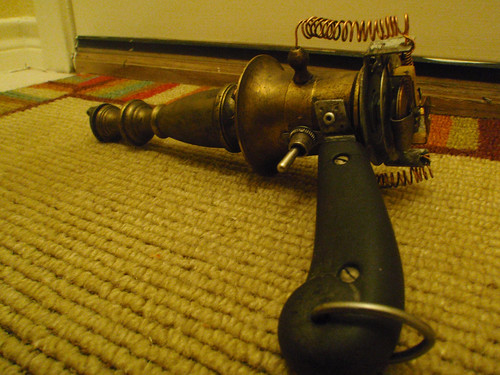
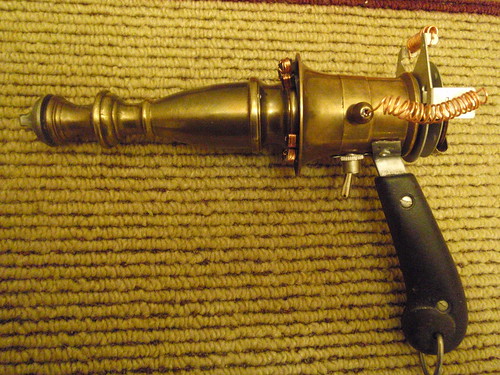
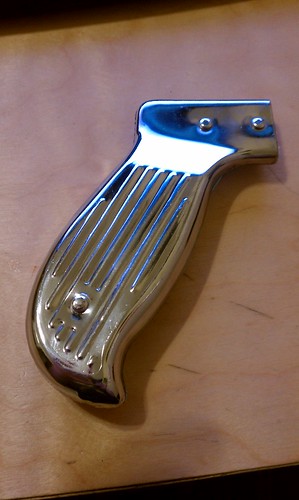
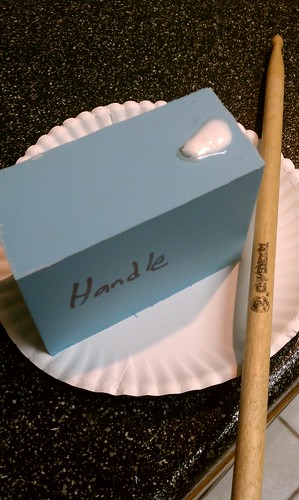
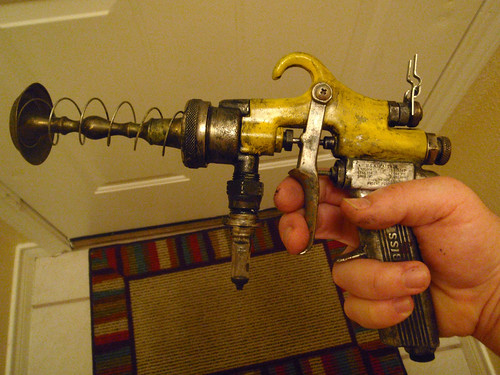
Get yourself some silver or metallic spray paint and spray a little pool of it onto a paper plate or a piece of plastic. Blot the paint up with a cloth and just rub the gun from one end to the other in nice even strokes. It's dries in no time and you end up with something like this.

Painting test

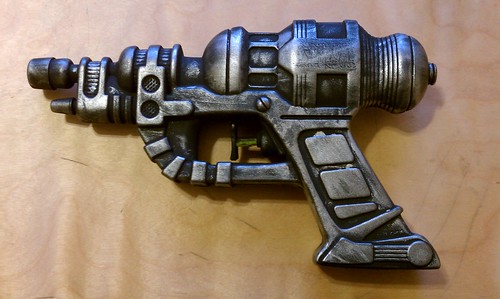
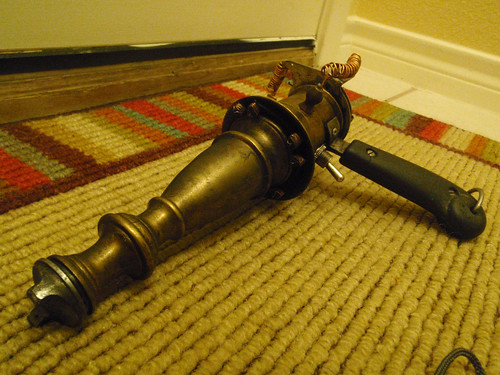
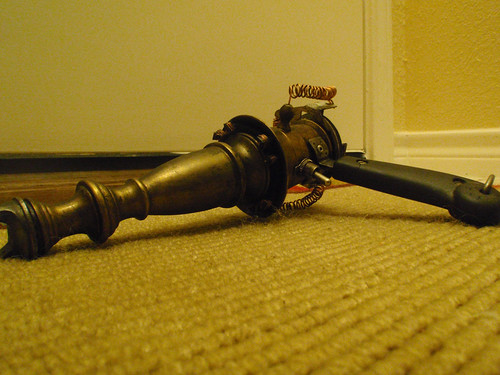
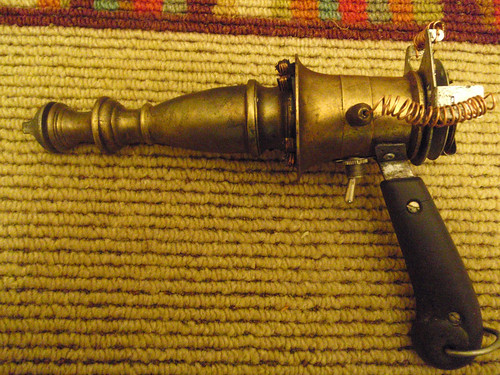
Pretty dang cool right?

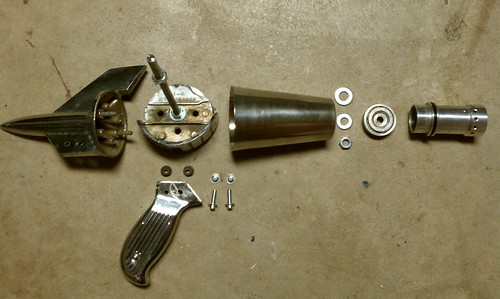
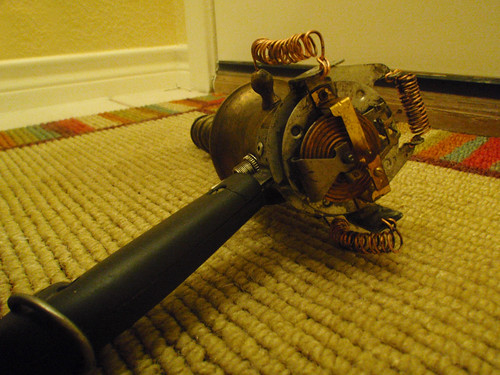
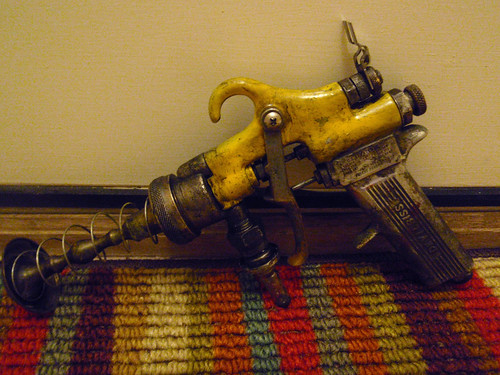
Imagine the possibilities too.  I mean if it has little nooks and crannies like these then it can be made to look great in no time.  Throw another wash of some dark colors to make it look even more realistic.

Now as much as I would like to I can't take all the credit on this one. I found the tutorial on youtube and have provided the video below.


Until next time folks...

Friday, May 20, 2011

Tiny update for your face area

So I've been hard at work on three new Rayguns and unfortunately, as it goes, I can't finish them until I find the right parts! I could just slap any old turd I find on the road to pump these bad boys out but then they would be ugly and I'd have turd on my hand.

A friend of mine has asked me to make him a Raygun rifle. Now compared to whats already out there whatever I make will be second fiddle. But I plan on making this all sorts of nice anyway. He brought me some stuff from his dads junk pile to make it with and once I added it to my junk pile it looked like this.  There's some Rayguns in there for sure.

Mess


I've also been working on a more futuristic gun that I plan on casting and making multiples of to sell.

Here's an early picture of it with a test fit.

Sillllverrrrrr

And an exploded view of the parts so far.

Exploded!

Then there is the one I've had sitting here for about 3 months waiting for the right part that's made out of an old Black and Decker electric drill. I may have just found what I need to finish it up too!

WIP

More to come as I put these together along with final posts for all three. If you like this stuff, go ahead and dig it or leave me some comments. :D

Tuesday, May 3, 2011

The Bazinga!

Next Raygun here was made for my friend Mary. While I personally can't stand the show "The Big Bang Theory" Mary is known to throw a bazinga from time to time and it generally makes me laugh. I honestly don't know how you can watch (and enjoy) a show that still has a laugh track but...we're getting off topic.


I like this one quite a bit. It's the first one I've made with a switch as a trigger (which I think is pretty cool) and it incorporated something I'd been holding on to for a while. The innards from an old barometer thingy I got from a thrift store.


That's it on the end there. The coils were made by wrapping copper wire around a bolt and then stretching it out to fit.


The "emitter" on the front is parts from one of the paint guns I had and the barrel was a neat candle holder I found.


The coils in the middle was a plastic insert from some tool or another I took apart for parts. I wrapped thin copper wire around each prong to make a cool coil effect.

I finished it up with the same dry brushing and wash technique from before. This time I also added a couple of coats of a clear matte spray paint. It'll keep the paint job from rubbing off and it makes the metal look a little older and sortof simulates a patina.

Just to show you here is an example of this gun clean (right after assembly) and then with the paint.

P5010094

annnnnnnd


It's not a huge difference but I think it looks way better after the paint.

The following pictures are due to a combination of things. Mainly the fact that we had a pair of goggles, a big scarf, a small parka, and a new Raygun.


More to come! I have one in the works that I think will be my best one yet. :D

Mighty Molding Time

I finally found a cool handle that I can use for multiple Rayguns! So since I had a trial size of Oomoo 25 and Smoothcast 300 I decided to make a few of them so I didn't have to spend 5 bucks every time I needed a new one.


I ventured out today and got this very very very crappy hacksaw from Harbor Freight for about 4 bucks. Underneath all that rubber is a handle that looks pretty great. I CAN FEEL IT!

IMAG0508.jpg

After some minor surgery I had this nice shiny handle. Actually looks pretty cool with the grooves and stuff.

IMAG0503

I got the idea to use foam core from Volpin's blog to keep all the precious goo in while it hardened. Once again if you haven't seen his stuff it is very good. (Volpin Props)

IMAG0502

I glued the end of the handle to the bottom for support when pouring the Oomoo 25 in there and glued around the outside of the foam core to prevent leaks.

IMAG0505

After it cured I pulled off the foam core sides and mixed up some Smoothcast for my first pull. Very excited! Notice that I used one of my Rockband drumsticks to stir. I broke the other one by being too awesome at drums. Just sayin.

IMAG0507

As you can see the first one didn't turn out so great. There were all sorts of bubbles. And while I could paint those bubbled areas (and probably will) to look like rusted pit holes or something, I wanted to see how good of a pull I could make. The second one on the right was much better. Still a couple bubbles but I think I'm getting the hang of it.

Keep in mind here too folks that this is the first mold I've ever made and subsequently the first pull. So if you see anything I messed up on or have any pointers feel free to leave me a comment!

Monday, May 2, 2011

The Yellowjacket

Third Raygun folks. This one I call The Yellowjacket for obvious reasons. If you can't figure it out ask a friend. This is the second one I made using the two paint guns so they are similar but pretty different.

Yellowjacketfloor

The little added bits are from all around. Another spring from a sprinkler is on the front and I placed a burned out headlight from my car for some added coolness.

Yellowjacketheld

Another pic of my beefy hand that just happens to have a Raygun in it.

Yellowjacketleft

I added the grime myself with some acrylic paints. I generally mix some black and brown to dry brush around the spots that have deep grooves. I let that dry about halfway and dab it with a paper towel.

For the harder to reach areas I add some water to the brush to make a wash and sortof just get that dirty paint water all in there. When it dries, it sets all that grimy stuff in place and there you go.

I learned some of the weathering techniques from my wife and some from Volpin's blog (http://volpinprops.blogspot.com).  Check it out he has some great stuff.

Until next time!

The Missouri Compromise

This is one of two Rayguns that I made from some broken paint guns I purchased from a friend.  I call it The Missouri Compromise for undisclosed reasons.  I liked the idea of building off of what is realistically and already "working" gun so here it is.


Got some more glamor shots for you here.


Most of this is found parts from all sorts of places.  Candlestick on the end with the spring from a sprinkler.


Oooh look at them coils.  Also that crank on the end it pretty funny to me.  It wasn't until I added it that I remembered the gun from Futurama that played "pop goes the weasel" until it was charged.


Looks even better from the back!

 
Oh that?  Just drilled some sweet speed holes there.  No big deal...

So far I'm liking this a lot.  I'll keep updating as I make them.

The Illuminator

Here it is guys.  The one that started it all.  I was really inspired by guys like Tinkerbots (http://www.flickr.com/photos/tinkerbots/) and wanted to make some cool Rayguns of my own.  Here is the product of my first dive into the found item art pool.


What's that my beefy arm is supporting?  Man that's just The Illuminator!  Bonafide brass lamp raygun assembled by yours truly.


  Awww is it sleepy?  Naw it's just weighed down with retro cool is all.


 The body is made out of found lamp parts.  The handle is an old salad fork that I cut the end off of and screwed into the bottom of the gun.  The very tip is a sprinkler head and the far right end is the screw end of an old lightbulb.  The toes are mine and you can't have them...


I built this mainly because Weta is sponsoring a raygun modifying contest on at the replica prop forums (therpf.com).  That's why it has the Dr. Grordbort's symbol at the bottom there.  I saw the really cool stuff that Tinkerbots and some of the RPF guys were making so I made this to warm up for the competition.  I just had no idea that I would enjoy it this much.  This is the first post of many so stay tuned.