
Hey there folks, it's that time again. Do you feel cold? Did the lights just flicker and your breath catch in your throat? Look out it's a haint! The Haunt to be specific. I'm not going to pat my own back or anything but this thing looks pretty cool. I'll walk you through how it was made and then I'll post some glamor shots at the end.
This project started with my finding an old hood ornament at a junk shop here in Austin. One look at it and I knew I had to make something out of it.
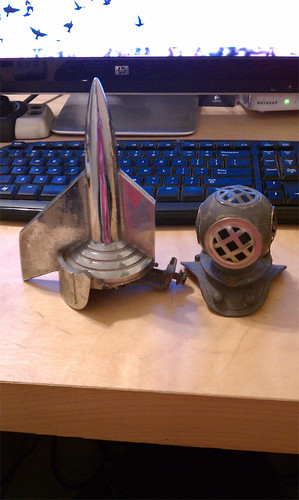
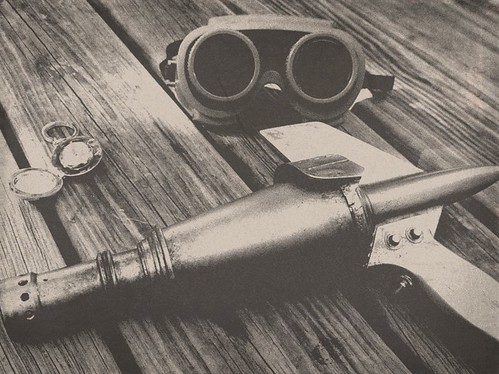
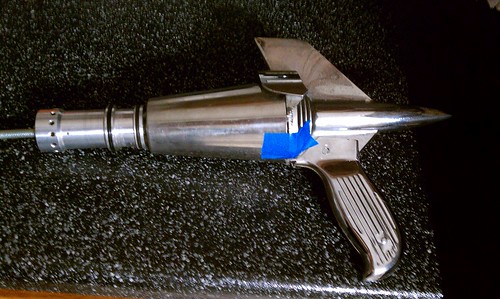
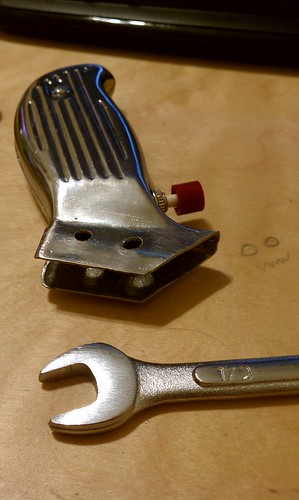
I had this hacksaw handle that I cannibalized from Harbor Freight as mentioned in a previous post and thought the two looked really good together. Combined with a martini shaker and the insides of a pneumatic staple gun I had the basic form I was looking for.
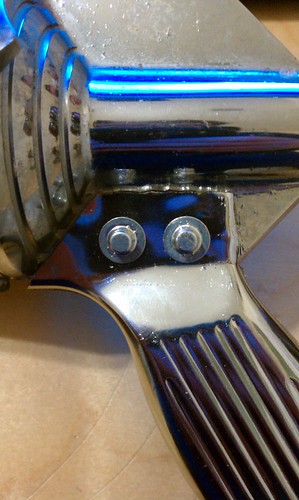
After drilling through the handle and the ornament I found some neat looking thread caps at Lowes. I used them to finish off the ends of the threaded rod holding the handle onto the hood ornament.
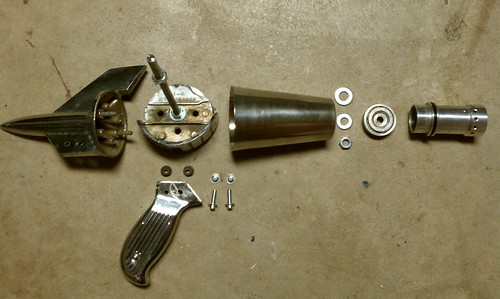
Here's an exploded view of all the parts before I got all down and dirty with wiring.
I'm really digging working with lights now even though my knowledge of wiring is rudimentary at best. There's just something great about setting everything up and seeing the light go off when it's done right.
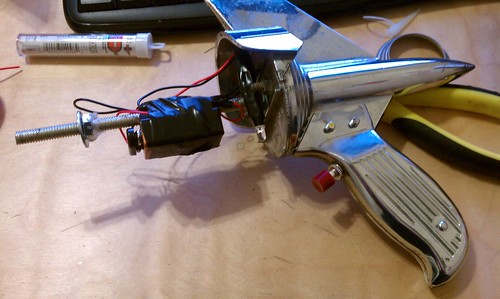
Anyways, I found a push button switch and installed it into the handle to work the lights.
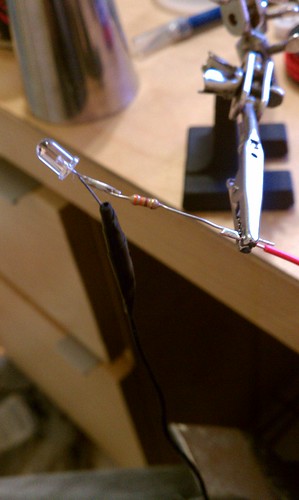
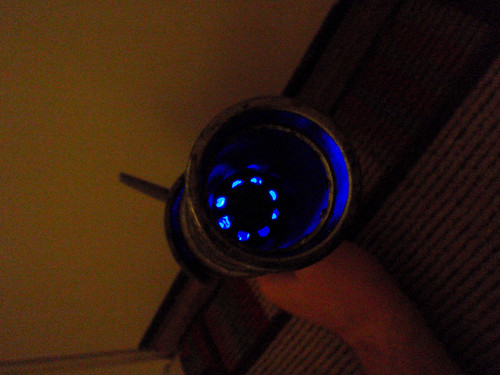
I picked up a super bright blue LED from Radio Shack and soldered a resister to one of the leads. Evidently if you don't add a resister the LED can burn out in seconds as apposed to lasting for years. You learn something new every day.
Everything soldered and taped and put in it's place with a 9 volt battery attached.
Test fire! I drilled holes in the end to give it a pattern to shine though.
Time for paint. I went ahead and put down 2 coats of grey primer. I chose grey because it reminds me of the days when I did a lot of 3d modeling. It also looks really cool.
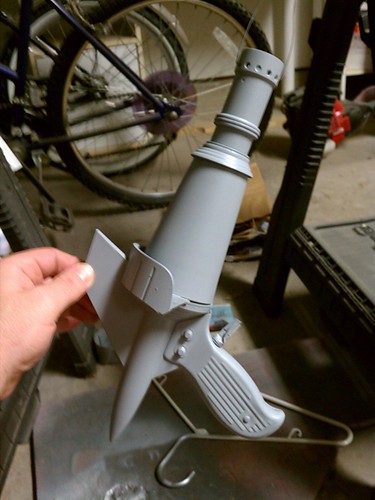
After that I hit it with a couple coats of silver paint to see how everything was going.
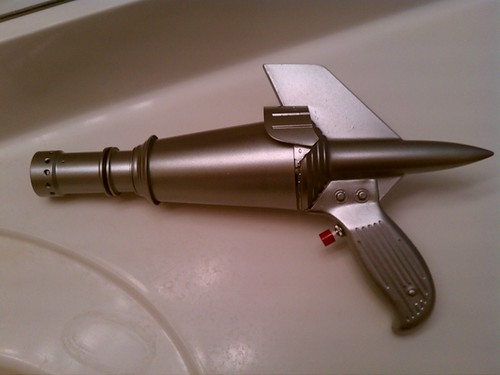
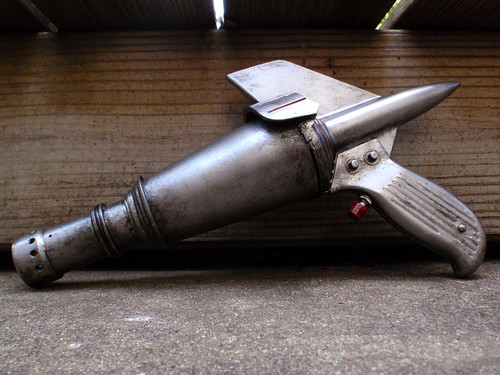
Lookin preeeetty nice. Not much more to do but get filthy with the same old dark paint dry brush and wash. I'm going to have to make a clean looking gun one day but it's just much more fun to add some grime and age to make it have a story of it's own.
Here's the final product. I think this is the best one so far so enjoy yourselves.

More to come as I make them. I'm currently working on a contest that Weta put together at the replica props forums too so I'll have a post made for that as well. Leave a comment if you like them, hate them, or just have a question. Until next time!
No comments:
Post a Comment