

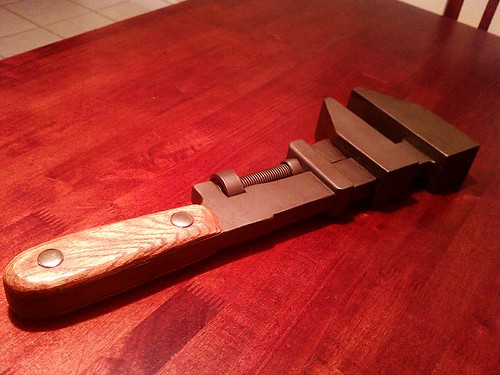
It's been a while hasn't it?! I suppose I could blame my lack of work on being lazy but honestly it's just the lack of materials. I have a lot of stuff here in the ole garage but I don't like how any of it fits together at the moment. That being the case, I decided to get a head start on my Halloween costume. It might not be a Raygun, but it's as cool as one. I present the Engineer's Wrench!
Now I didn't have any of that highfalutin Australium layin' around so I had to make this guy out of MDF. I started by making a template. If you didn't know, you can download the Source SDK right through Steam by going to your Library and selecting Tools from the drop-down at the top. Go down to Source SDK and download that bad boy. In it is a model viewer that you can use to look at any model in any game made by Valve that you have installed on your computer. I used this to take a side view of the Engineer's hand holding the wrench. I then measured across my hand to get a reference. So since my hand is about 5 inches across give or take and the wrench was about three Engineer hand lengths long, I made the whole wrench about 17 inches long. I added a few inches just as a buffer since there isn't any real reference to how long his wrench is.
Alright, enough heavy reading, time for pictures boys!
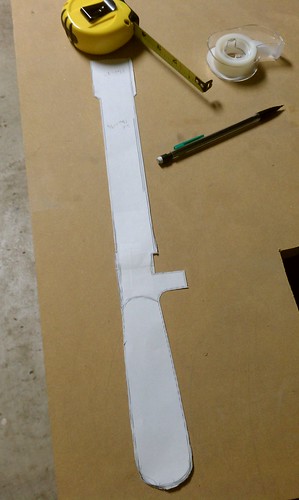
I traced the screenshot I got from the model viewer in Photoshop and got this scale blueprint of the main wrench body. Mmmmm, that's right.
I traced it onto some half inch MDF. When tracing onto your materials, try to keep in mind how you are using what you have. By cutting out your pieces in a smart way you can make sure not to waste anything. Use every part of the buffalo!
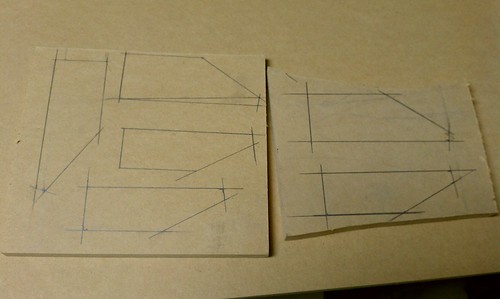
I made the same blueprint with the jaws of the wrench and traced two of each shape on some 1/4 inch MDF. I then traced one of each shape on the original half inch so I could make a jaw sandwich. MmmmMMMMMMMM!
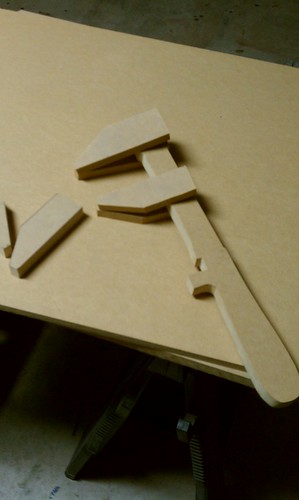
I cut those suckas out using a jig saw and band saw. Here you can see I just laid everything out to see how it was looking.
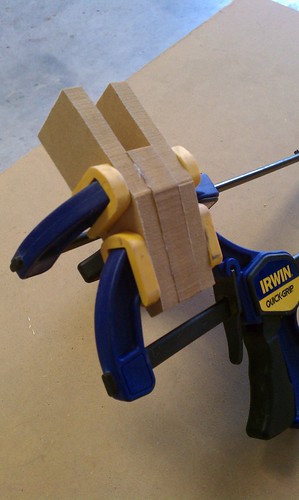
I cut what I didn't need from the middle half inch sandwich piece and glued all three pieces together, forming the head of the wrench.

Then I did the same for the bottom jaw. If you are curious, I use Gorilla Wood Glue. I think it's pretty great.
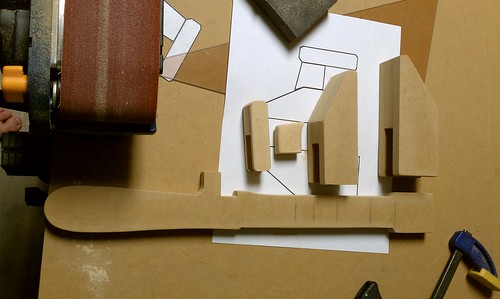
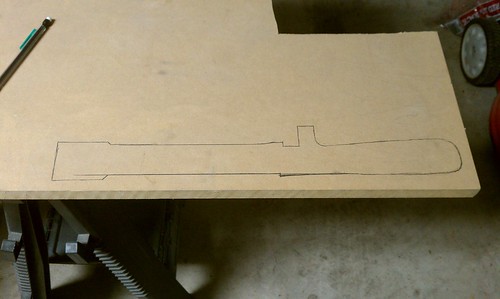
As you can see here I made another blueprint for the head of the wrench, mostly for spacing. I did however also include the little bits and bobs needed to pull the top of the wrench together. Here you can see how both jaws will slide onto the main body of the wrench. I'll glue them on later and add wood on the back to make them look like one piece.
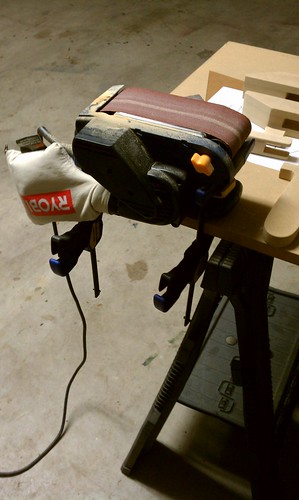
So here is my super safe bench sander setup. Yes it is a belt sander clamped onto a piece of MDF resting on two saw horses. It's not for the faint of heart but it's the only option I have to work with if I need to sand something big down. Plus I don't have to clip my nails because they usually get sanded off!
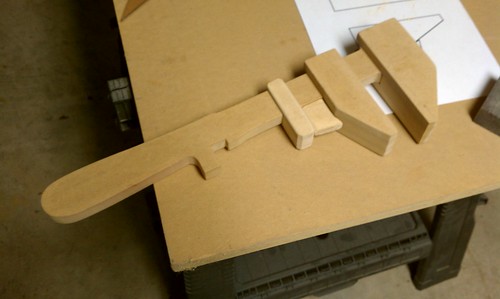
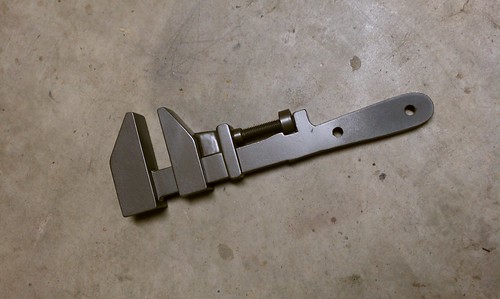
I used the belt sander to make sure all of the surfaces were even and was able to get my first test fit.

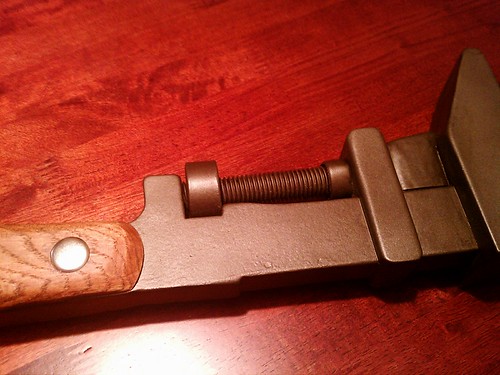
My next step was to make the part of the wrench that you tighten and loosen to adjust the gap between the jaws. Mine doesn't move but you get the idea. This is a 5/8 inch nut and bolt that I cut down to size with a hacksaw.
Those wondering how great it was cutting through a bolt like this with a hacksaw could save some time and just punch themselves in the face. It'll be a better overall experience. But seriously I like to think I'm in pretty good shape and I had to take several breaks while cutting through it to catch my breath. Anywhoo, I used PVC pipe scraps that I had laying around to fit over the end of the bolt and nut.
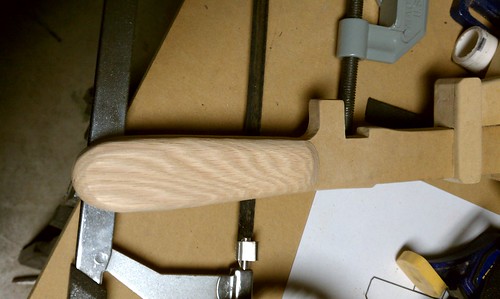
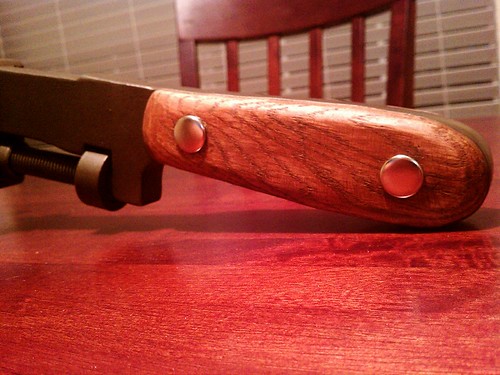
Next step was to get those big beautiful wood handles knocked out. I had some spare red oak from another project that I thought would look nice. I cut out the basic shape and went to town on ye olde ghetto sanding station. After about an hour I had both sides down to the shape and size I wanted.
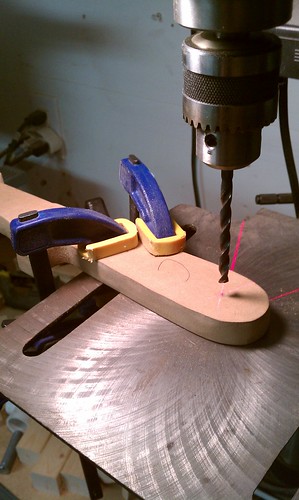
I drilled holes in the wood handles and main body of the wrench for a few reasons. The main one was to help line up the handles for when I was going to glue them on later. The other reason was so I could run a wire through the handle to hang the whole thing while I painted it.
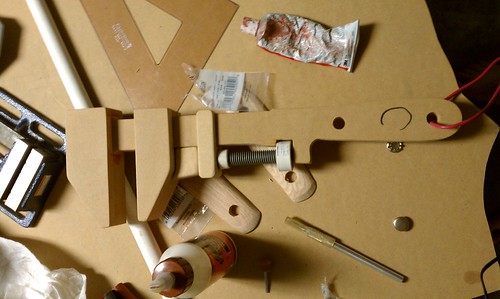
Here's everything fitted together and ready for the first coat of primer. I glued everything together using wood glue except the nut and bolt section. I actually friction fit that sucker (that's fancy talk for jamming it in there until it was stuck for good) and used super glue to secure it in.
MDF is super great because it's cheap and easy to work with. It's bad because when you sand it the dust is pretty much floating cancer, and when you paint MDF, it gets real fuzzy. So my advice is to ALWAYS wear a dust mask or respirator and keep a crappy old sanding sponge handy. I always put down a semi thick first coat of primer so the MDF can soak it up a little bit. Then I go over it with an old high grit sanding sponge. This "spreads" the dried paint around into the pores of the MDF, helping to get rid of the fuzzies and making the whole piece look smoother.
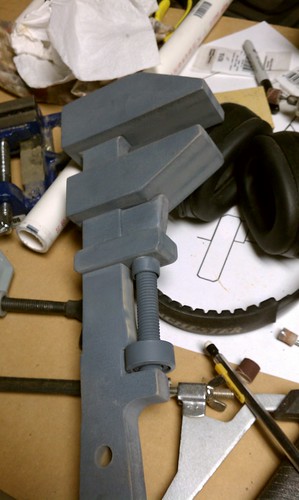
Here's what it looks like after I sanded down the first coat of primer. You can see it is a lot smoother than the picture above.
This is what I had after two coats of primer and threeish coats of paint. This thing is ready for some handles!
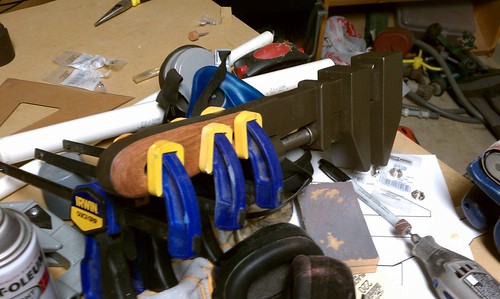
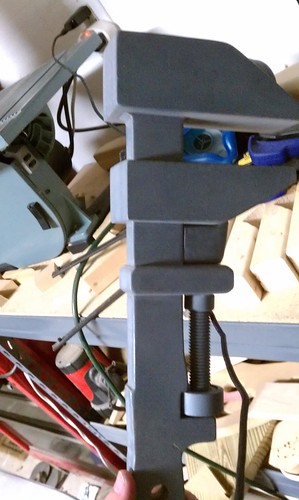
After staining the handles a walnut color I sanded the handle area of the wrench itself to make a rough surface for the glue to adhere to. Then I clamped the clamp out of them shits.
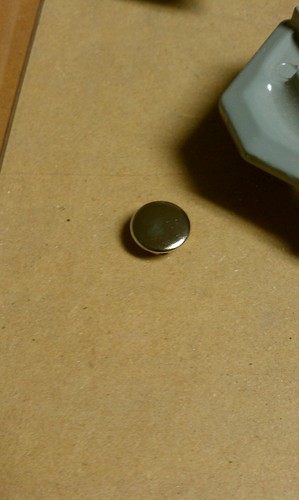
The last little icing on the cake was these hole covers I found at Home Depot. When placed in the holes I drilled earlier they looked just like rivets. Riveting!!! ... ╯°□°)╯︵ ┻━┻
Soon after, I added a quick wash of watered down black acrylic paint to bring out the low areas. The wrench in the game isn't super dirty so I didn't go overboard with it. After all of that I added 2 coats of clear coat to protect everything.
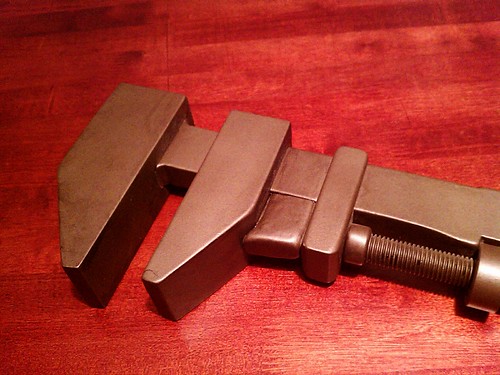
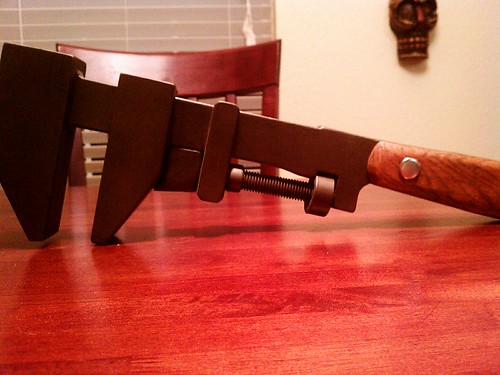
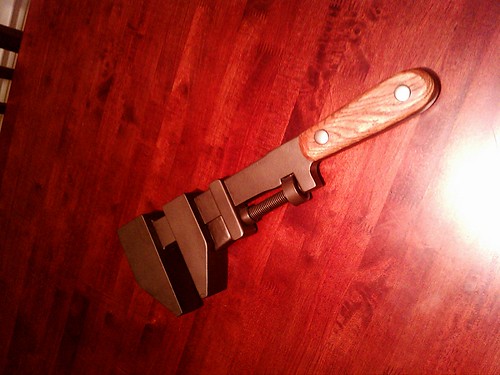
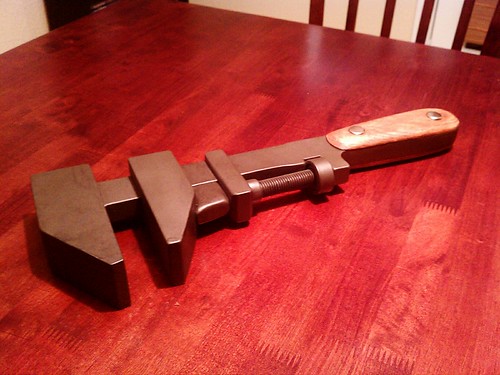
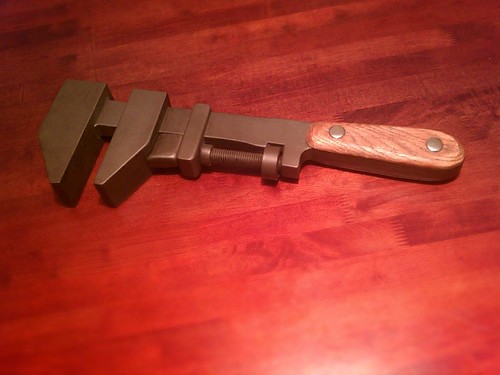
The next thing I did was take a whole mess of pictures of this Sentry buildin', Spy smashin', Dispenser repairin' tool of my favorite Team Fortress 2 character, The Engineer.
I'll be making the rest of The Engineer outfit throughout the year for Halloween so I might as well make posts for that as well!
So, until next time, enjoy these sweet pics and come on back now ya hear.


This is amazing work, and your descriptions are funny and interesting! Keep it up!
ReplyDeleteThanks bud! I'll keep em coming.
DeleteThis is pretty amazing! Great job!!
ReplyDelete