

Hey guys! It's been a while and a lot has happened in these few weeks. I finished a new prop and got a new gnarly scar on my arm that I can use to scare my future children with when they won't eat their vegetables. I'll touch more on that a little later, but first let's get started with this blunderbuss!
I fell in love with the look of this gun immediately and vowed "IT WILL BE MINE"! I started by finding reference material. This is by far the best gallery ever made on the subject of Looper guns. The guys ate the Replica Prop Forums are life savers. After scaling the first picture in that gallery to the size of my hand (in order to determine scale), I went out and got some pipe. PIPE!
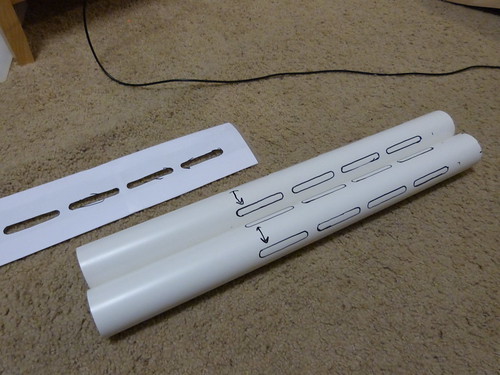
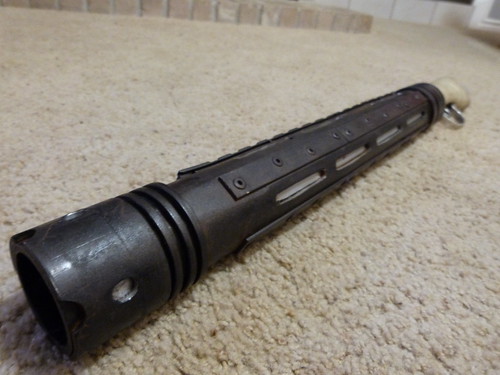
I cut out a template for the slots and traced it on four sides as you can see here.

Ooooh look at all them slots. I cut these out by drilling holes on both sides of the slot template I drew and then cut out the space in between with a Dremel tool. That arrow on the pipe there is saying, "Hey. Hey you. There's a slot right there."
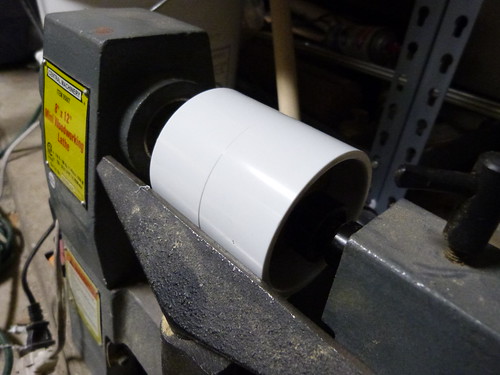
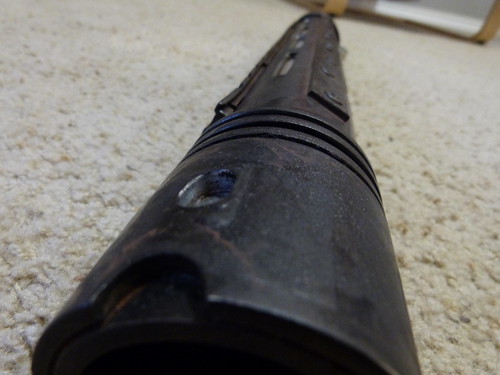
Next step was to cut out all of those neat ridges. I did this by cutting out a circle of scrap wood and sticking it into the center of a coupling. I stuck that coupling in my little lathe here and cut three ridges from it.
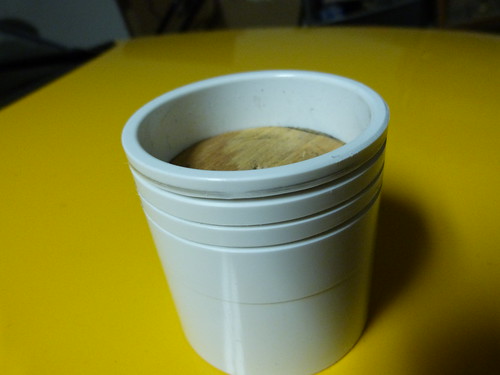
Here you can see the rings as I was cutting them off of the coupling.
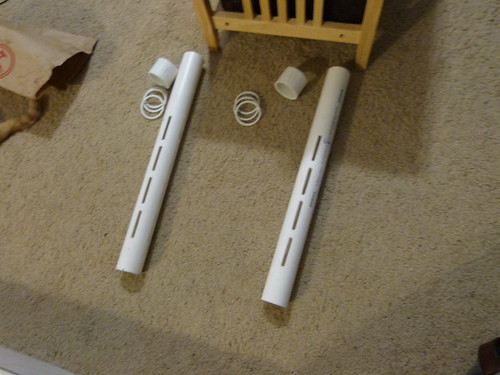
Here you can see both guns I made for my wife and I. We both realllly wanted to go as loopers to Comic Con so I made two at the same time.
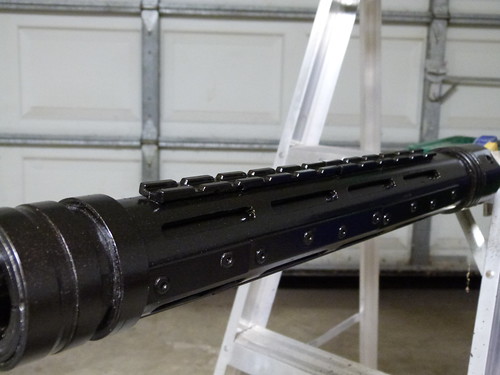
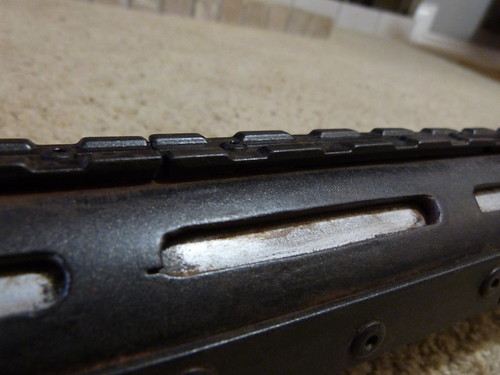
I cut the rail off of an extra Nerf gun I had laying around and riveted it along with some metal fasteners to the sides of the gun. My wife and I then painted both guns with a nice oiled bronze spray paint.
Now you may be saying to yourself here, "Hey! Where are the rest of the progress shots?!" First off, if you are that enthusiastic about my blog you must be super smart, funny, and smell great! You are truly a great person. Second, I'm ashamed to say that had myself an accident of slightly terrible proportions while making the handles for these guns. I was using my belt sander in a way that is not "factory specified" and some skin on my arm was pulled into the sander between the running belt and the housing. The force of this also pulled my shoulder out of socket. Needless to say this sucked pretty hard. I popped my shoulder back into place (something I had experience with from my other shoulder) and was driven to the emergency room.
The point I'm trying to make here is this. I was wearing eye, ear, and face protection while working. I also wasn't wearing any loose clothing. This shows that even someone who is trying to be safe and has some experience working with power tools can still have something like this happen very easily. Be careful out there kids!
If you are totally weird and want to see the result of being eaten by a belt sander, you can view the pics here. Keep in mind that they are gross. Like gross to the max. You have been warned.
If you are totally weird and want to see the result of being eaten by a belt sander, you can view the pics here. Keep in mind that they are gross. Like gross to the max. You have been warned.
Back to the show!
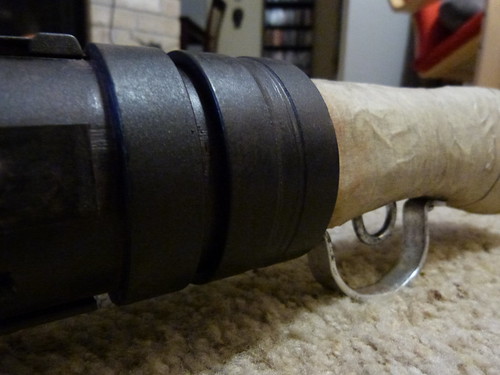
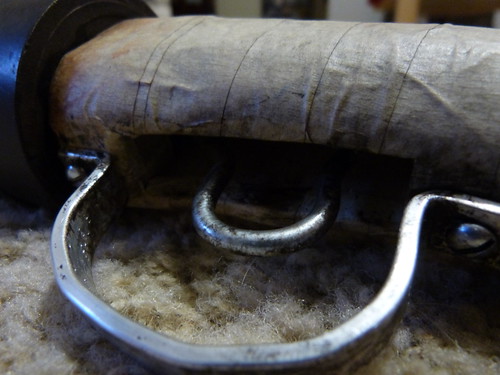
Here you can see the trigger guard that I bent into shape by hand. You can also see the taped up handle (screen accurate) and trigger.
We both painted the grime on our own guns so they turned out a little bit different. I like the way both of them turned out but I think Erin's is the winner here. Enjoy these finished pictures!

I also have some pictures we took at Comic Con right here. Notice the sling...


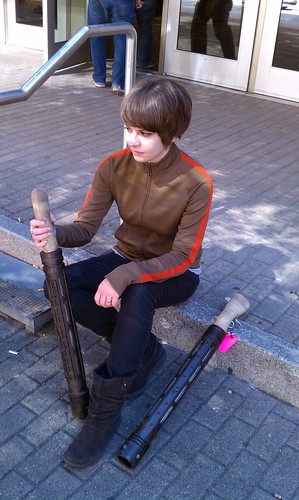
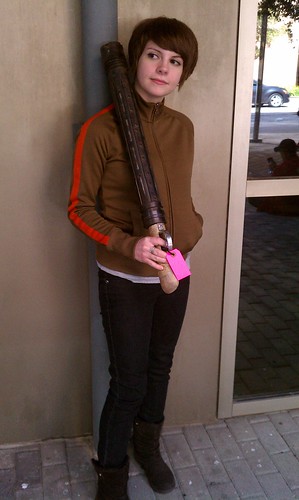

^^^ My personal favorite.
I hope you guys like the guns! Please leave a comment if you have any questions or just want to say hi or something. Until next time...
Great job. Im going to try and make my own too. I have a question. How did you make the ridges in the shift of the barrel?
ReplyDeleteHaha still hurts! I think you're talking about the notches by the end of the barrel? I used a sanding bit for my Dremel tool to cut those into the end of a coupling that I slid over the end of the pipe. I marked out where they needed to be and just did it by eye. Hope that answers your question. :D
Deletedamn that sander burn! that hurt
ReplyDeletethank you for your help. one more thing. what pvc pipe sizes did you use? the inner diameter and the outside diameter? they
ReplyDeleteoverlap perfectly. and what is the total length with the handle and the length of just the shaft?
dustin
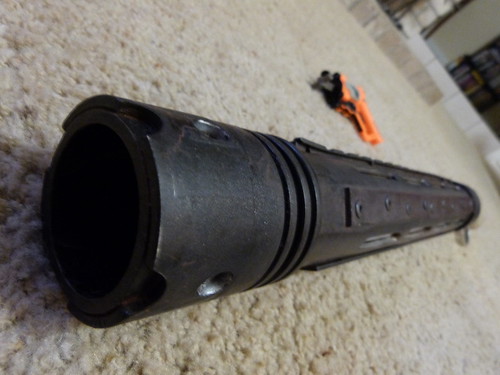
See that's where it got a little tricky. Both pipes are 2". I cut a big notch lengthwise from the inside pipe with a cutting wheel and bent it with a heat gun and clamps to fit inside of the outside tube.
DeleteI'm sure there is a better way to do it, but I had a Dremel tool and a heat gun so I did it that way hehe.
thank you. great idea! what is the length of your blunderbuss?
DeleteIt is 29 and 3/4 inches from tip to tip with the handle. :]
Deletehow much would you sell a looper gun for?
ReplyDeleteSorry I just saw this! If I were to sell one it would most likely be over a hundred bucks. The materials alone were pretty expensive as well as the labor involved. That being said, I don't plan on selling the two I have. :/
DeleteSo just make more if you made ten and sell them for like 150 a piece you would make a killing I would buy one but if they was real that would be kooler
ReplyDeleteId like commission one of these.
ReplyDeleteBradsciullo2099@gmail.com