Slamacow and shmowzow my algebraic followers! It's about time I made a sword, and I couldn't think of anything rad badder than Finn's from Adventure Time. So without any more fussin around, here's how I went about making my own.
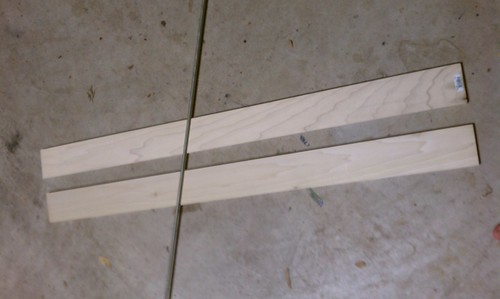
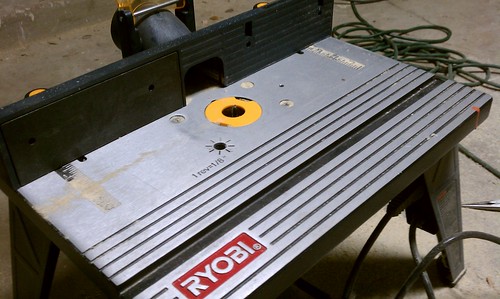
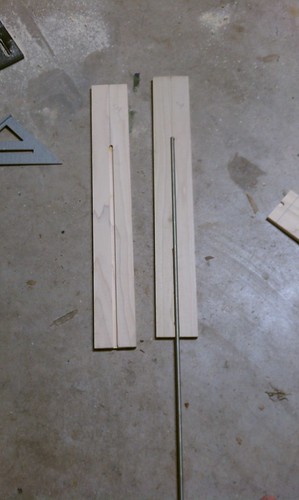
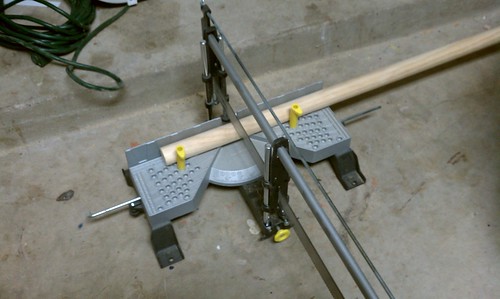
I started with two poplar boards that I picked up from Lowes. I then used a router to make a groove in which to glue in this there threaded rod you see in the picture. That way I can lay the rod in the groove and glue both pieces together. I could then screw the hilt, handle, and pommel of the sword for extra sturdiness.
Oooh gurl look at that router table, he so cute.
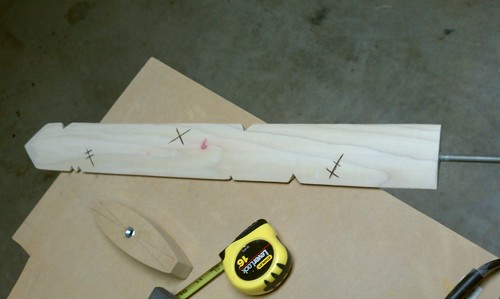
Once I got the grooves cut out I was left with this. I shamelessly stole this method from
Blind Squirrel Props. He makes great stuff in pretty smart ways so I try to emulate him when I can.
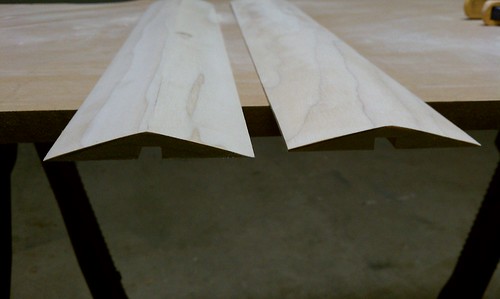
Now I don't have too many pictures to lead you from the last step to this but I'll say it involved a lot of cussing and almost throwing in the towel while bending over my ghetto assed sanding set up for hours. I'd like to thank my wife for looking at the pieces I had thrown in the corner and for telling me they looked good and that I should finish it.
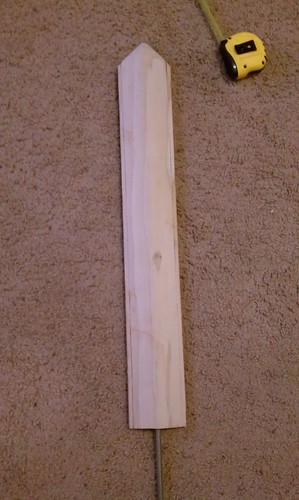
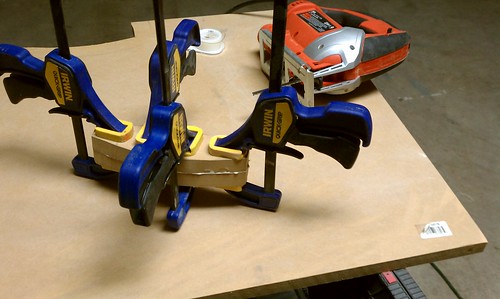
So as you can see I just used the belt sander to make these angles. It took a lot of time and patience but I think it came out well. Here you can see I glued both halves together. A word for you if you would like to try doing this. Make sure to have a LOT of clamps. Clamp down as much of the edge as you can to prevent gaps and spaces between both pieces.
Speaking of gaps! I used some spot putty to fill in the little gaps and dents that were left over from the sanding and gluing process. You can get this type of spot putty from any auto parts store.
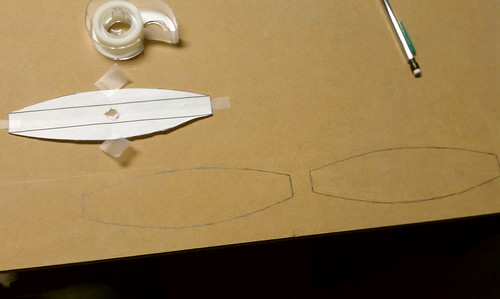
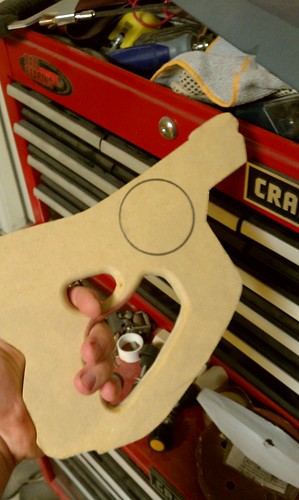
After all of that fun I decided to do a little work on the hilt to let everything dry on the blade. I made a little template in Photoshop and used it to cut out the two pieces needed for the hilt.
This is 3/4 inch MDF so I cut out and glued two pieces together to form a one and a half inch tall hilt.
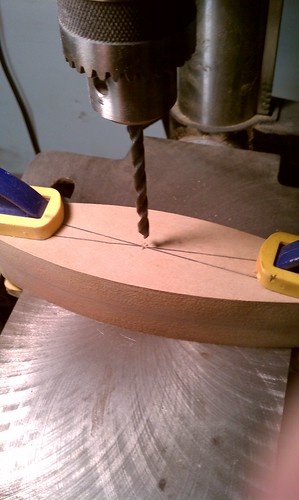
Time to get drillin! I found the center and drilled a hole big enough to allow the threaded rod through.
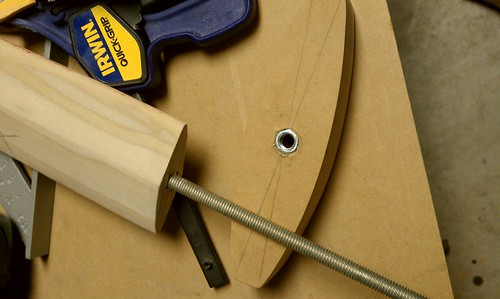
I then made a larger hole in order to insert a nut to screw that sucker on there.
Things are starting to come together! Look at them wild eyes!
I slapped some primer on the hilt and made sure it was looking semi smooth before moving onto the blade again. MDF likes to look all fuzzy when you put on the first few coats of primer. The trick is to be patient and to sand between each coat. Eventually you will get a smooth product.
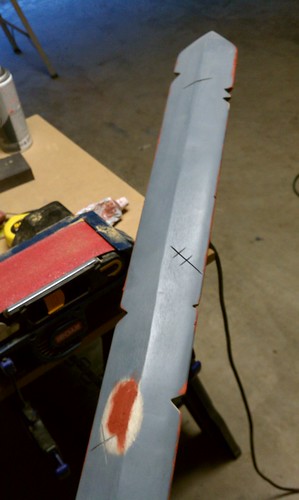
As we know the Golden Sword of Battle has been through some stuff man, so it has some rad scars. I used the Adventure Time wiki and pictures of the sword they sell in stores to determine which scratches I wanted to add. I drew them on first with a pencil and then cut them into the wood with my Dremel tool's disk cutter attachment. I used my band saw to get the bigger notches on the edges of the blade.
I added a couple coats of primer to see the bumps and bruises in order to smooth them out. Here you can see me using some spot putty to fill a small gouge I found on the blade.
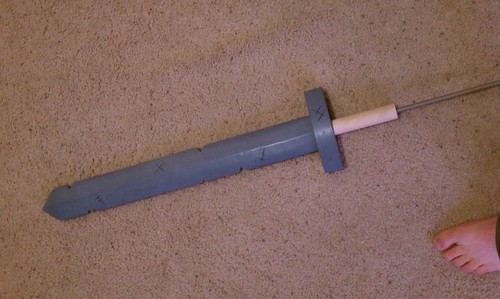
Handle time! I used a simple wooden dowel here and drilled a hole through it for the threaded rod using my drill press.
Test fiiiiiiit.
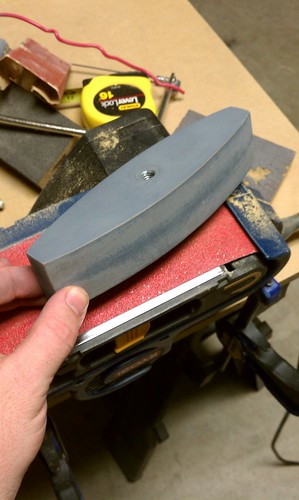
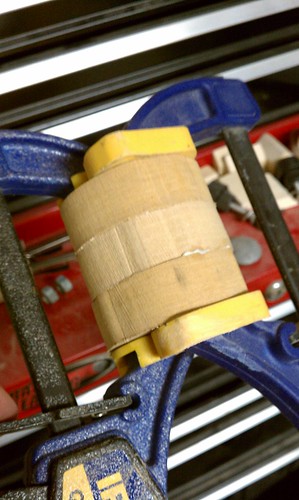
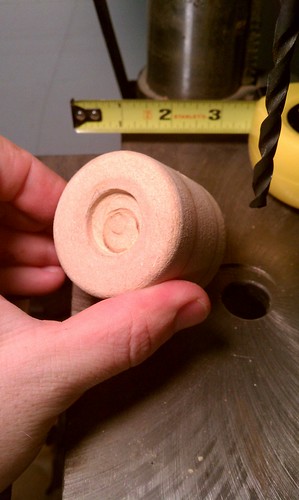
The next step was the pommel of the sword that holds the red gems on either side. I finally got to use my lathe again and I also got some use out of an old failed project!
I cut out three circles and glued them together to made a block to spin on the lathe.
After that I used the Dremel again to sand out a recess for the gems to sit in later.
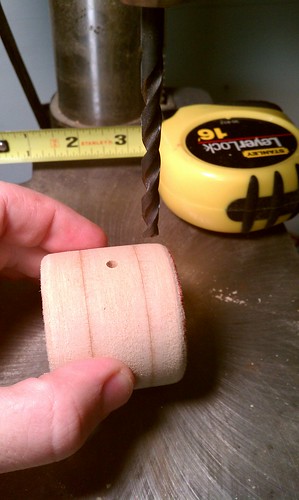
Here you can see where I started drilling in order to add another nut so I could easily screw the pommel onto the handle via the threaded rod. See, that rod makes everything way easier.
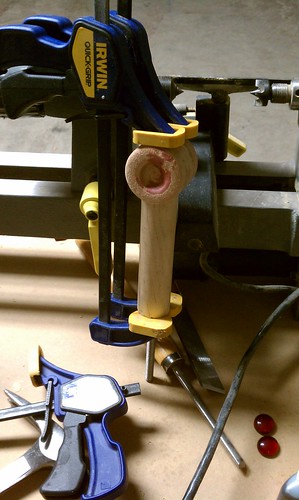
I screwed in an extra piece of rod to hold everything together while I glued and clamped the handle and pommel together. Why's there spot putty on the end there? Cause I suck, that's why! Stop asking so many questions...
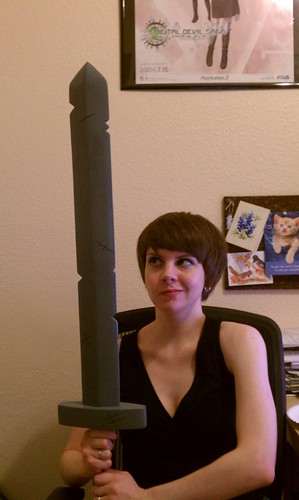
Holy shiiiiiiii here's some nice lady holding everything together to show what it looks like before paint. She's such a nice lady.
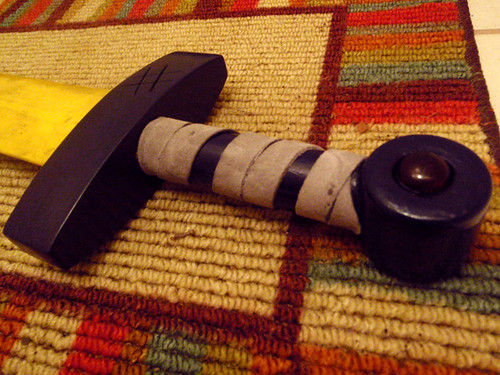
After painting I glued some strips of scrap leather that I purchased from Michael's for about 3 bucks a bag around the hilt. I then glued a red gem onto each side of the pommel with epoxy. That crapola aint going anywhere. I found these gems at Michael's as well. The "dirt" was added by dry brushing some black paint mixed with water all over, allowing it to dry for a few seconds, then blotting it off with a paper towel.
I'm going to go ahead and say something about the paint job. I was very very proud of this thing before I started painting it. In my excitement I painted a little faster than normal and not in the best conditions. This led to some problems on one side of the blade that I'm not very proud of. I am however happy with the way everything else turned out so I'll call this project a success on the whole.
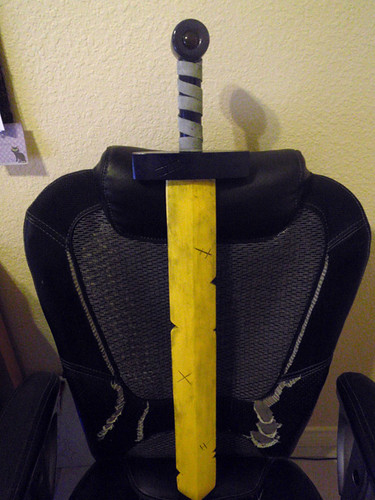
Here are some purdy pictures to rub on your face while wishing you were half the adventurer I am! Rhombus!
I found my original Gameboy from 1989 and threw it in the mix here. My very own BMO with rad pink and blue swirls!
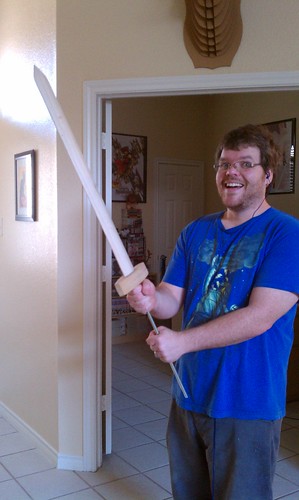
Well that's it folks. The Golden Sword of Battle, in my hand, right here and now! I'm still trying to find some more Raygun parts to make something new, but in the meantime I might make something else from TF2. :D
If you have any suggestions leave them in the comments! /wave


